 Live Radio
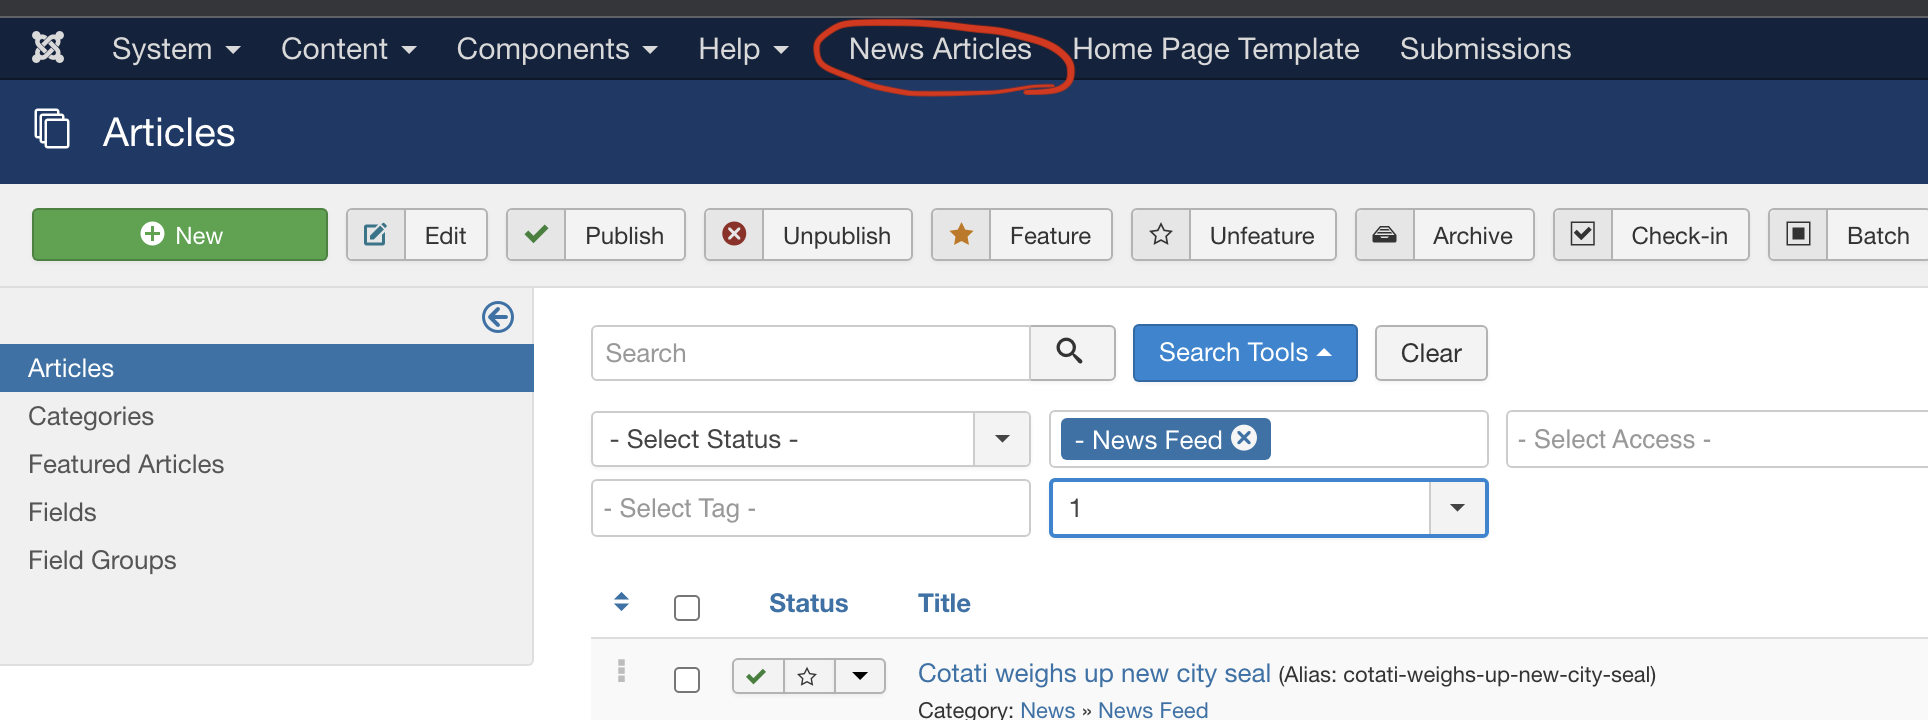
When you first log in, click the “News Articles” button. You will then see all the Articles from the News Department.
If you then click the “New” button, your new Article will automatically be in the correct category to appear on the News page.
You should now create the introductory text for your Article. Replace the ‘Introduction Text Goes Here’ with your own text above the line as seen here:
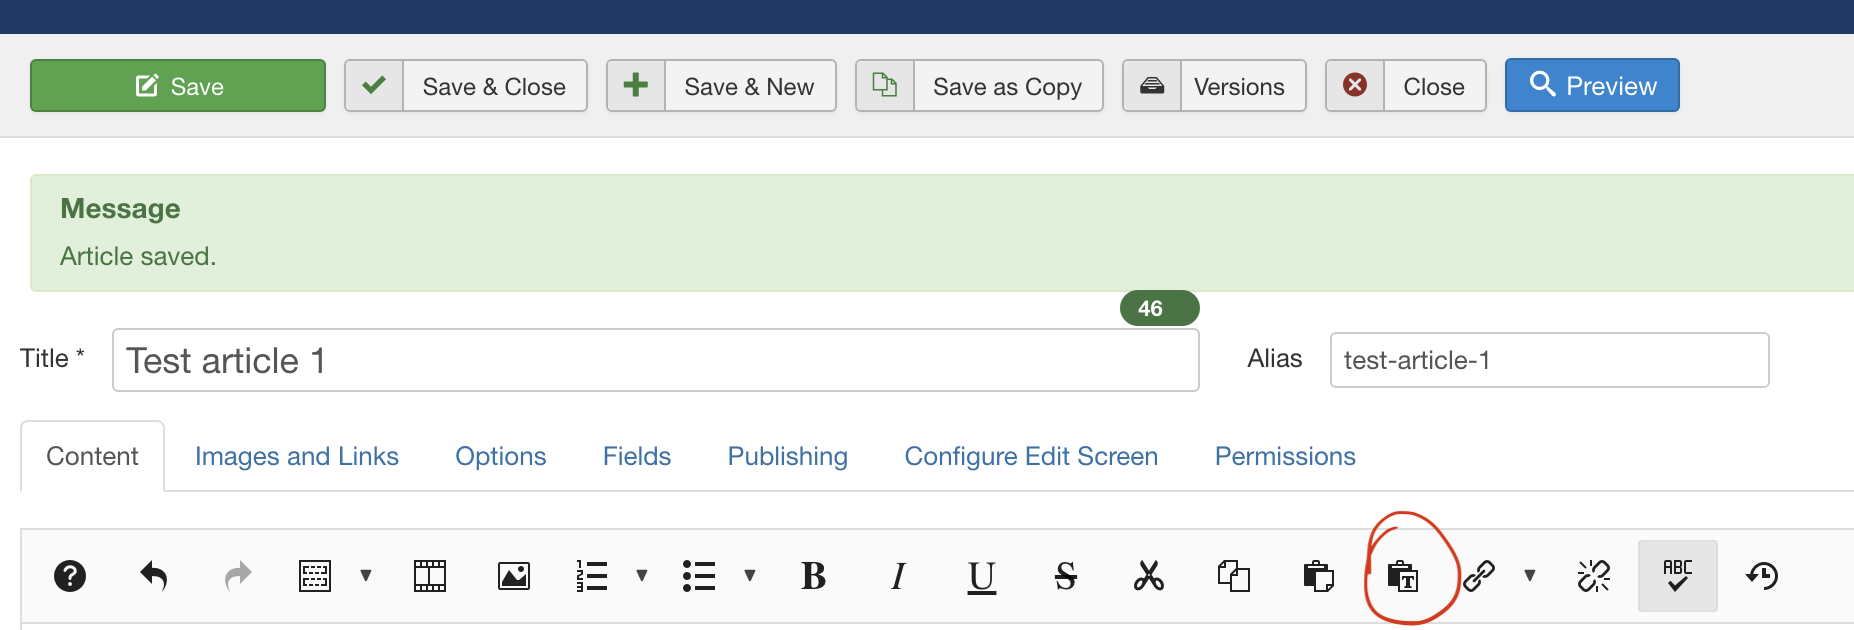
Give your Article a Title (Headline), then choose ‘Unpublished’ from the drop-down menu on the right and Save it to avoid losing any work due to internet connection issues.
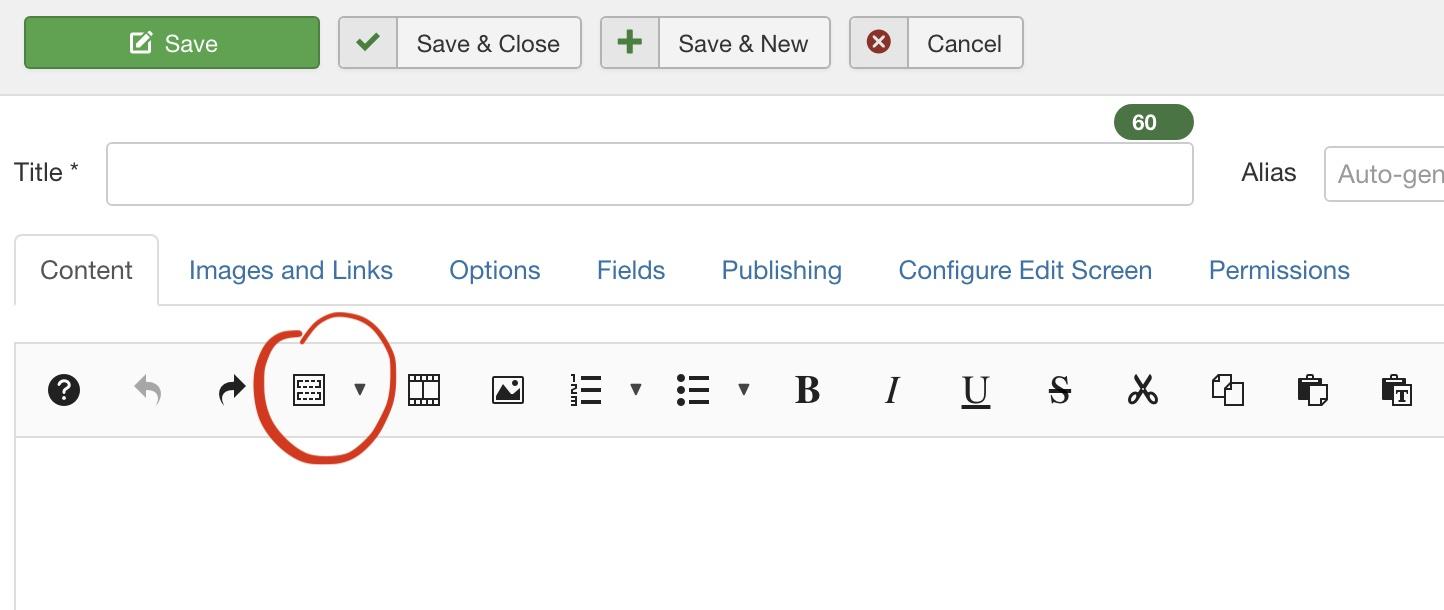
To add an image with formatting already set, use the “Insert Template button” (you will usually want to select “Audio and Left Image”):
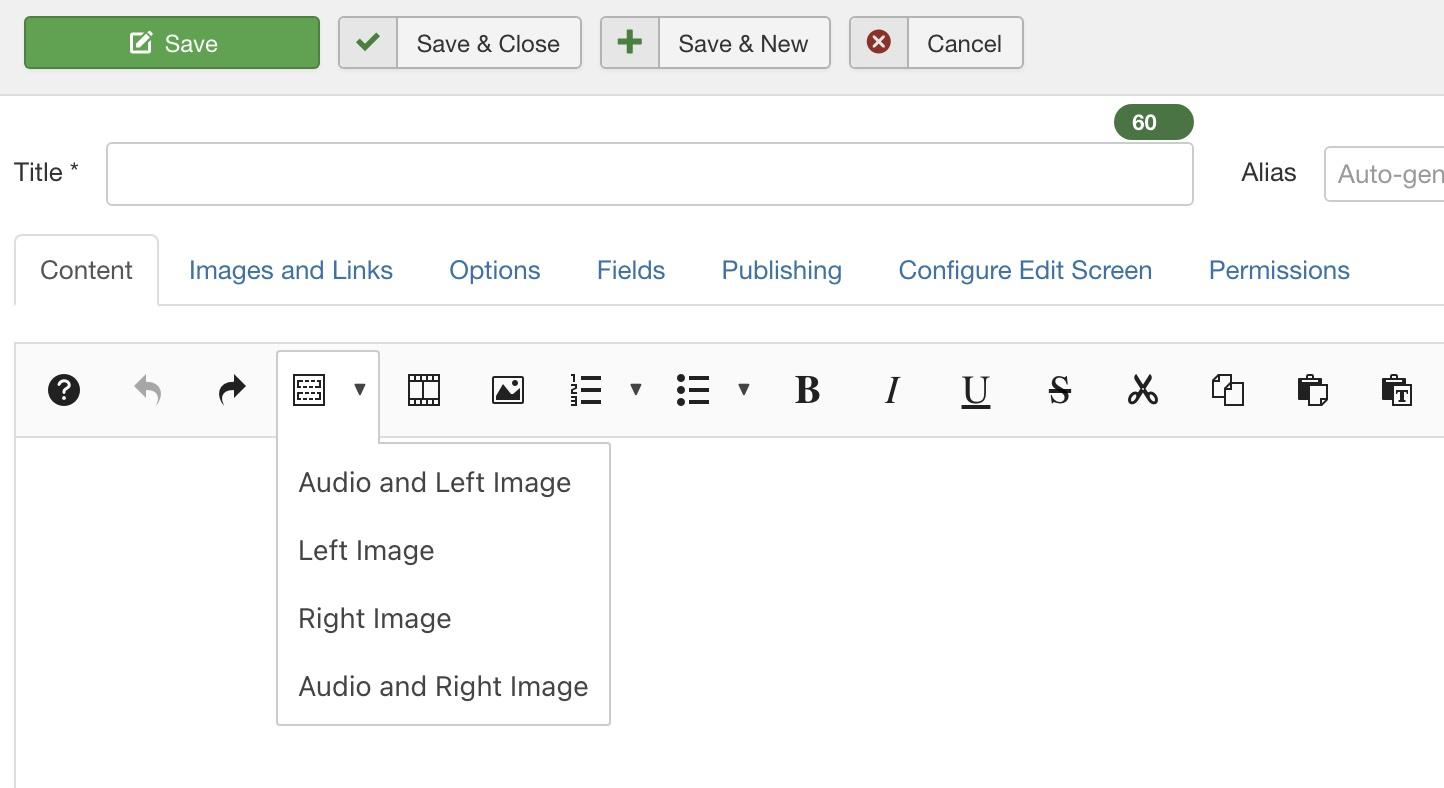
Then select what format you’d like:.
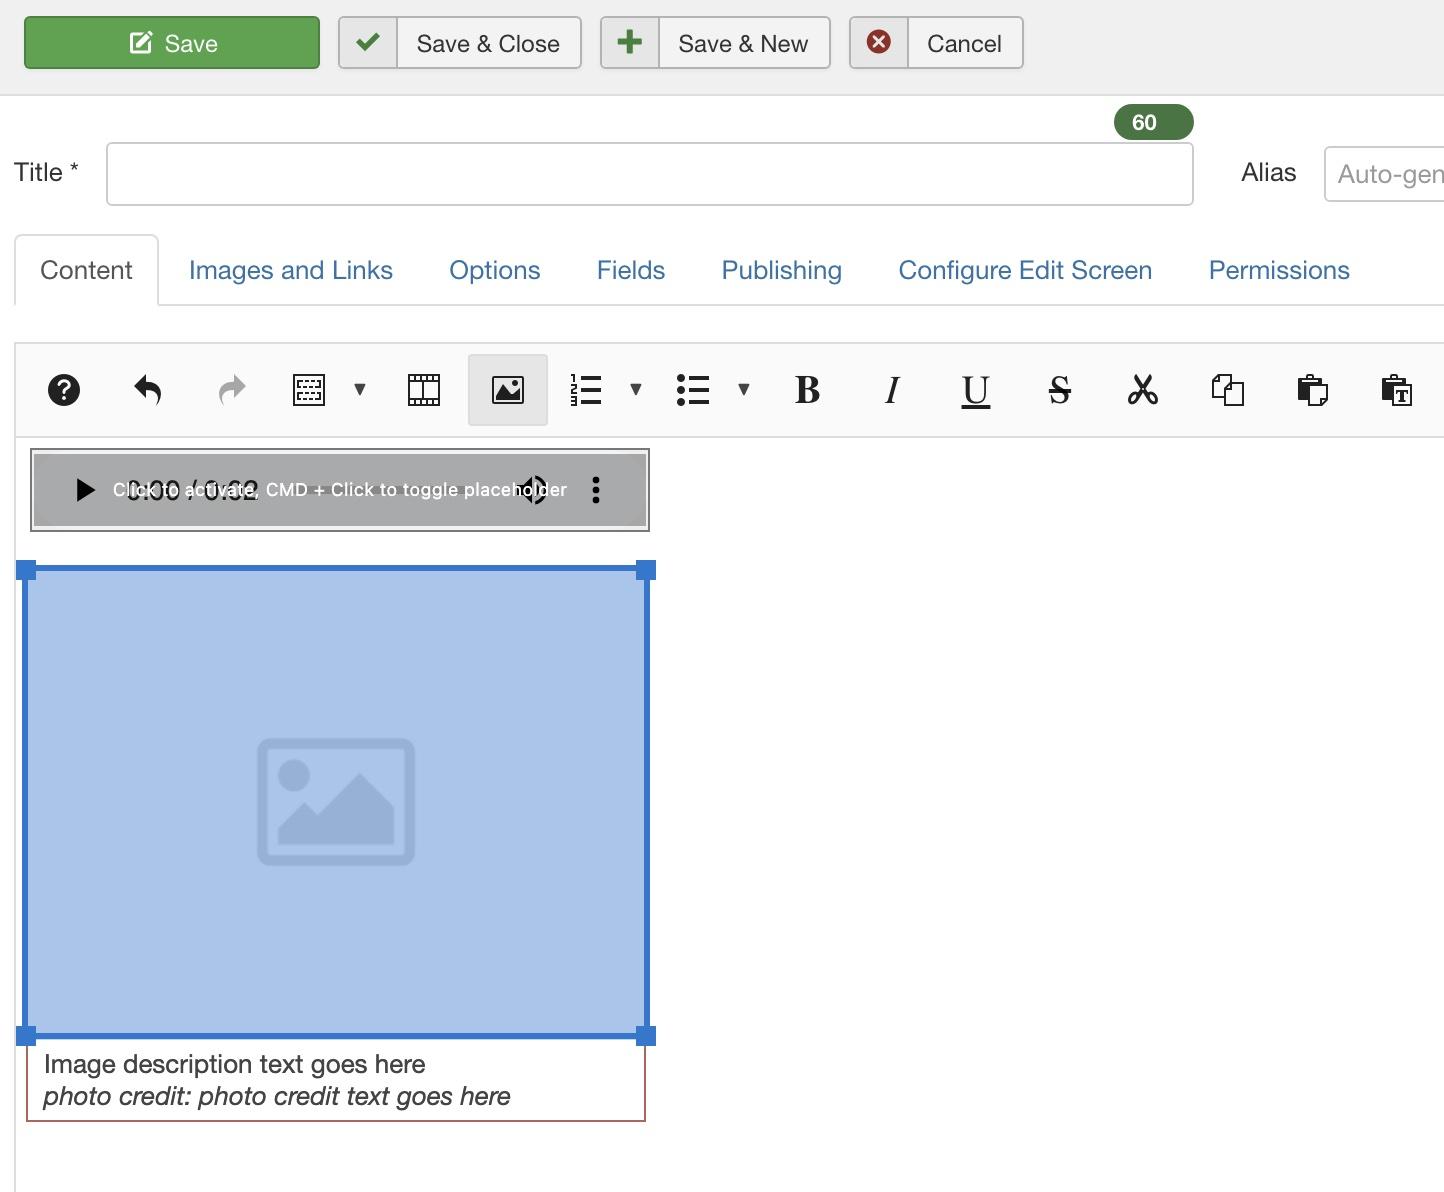
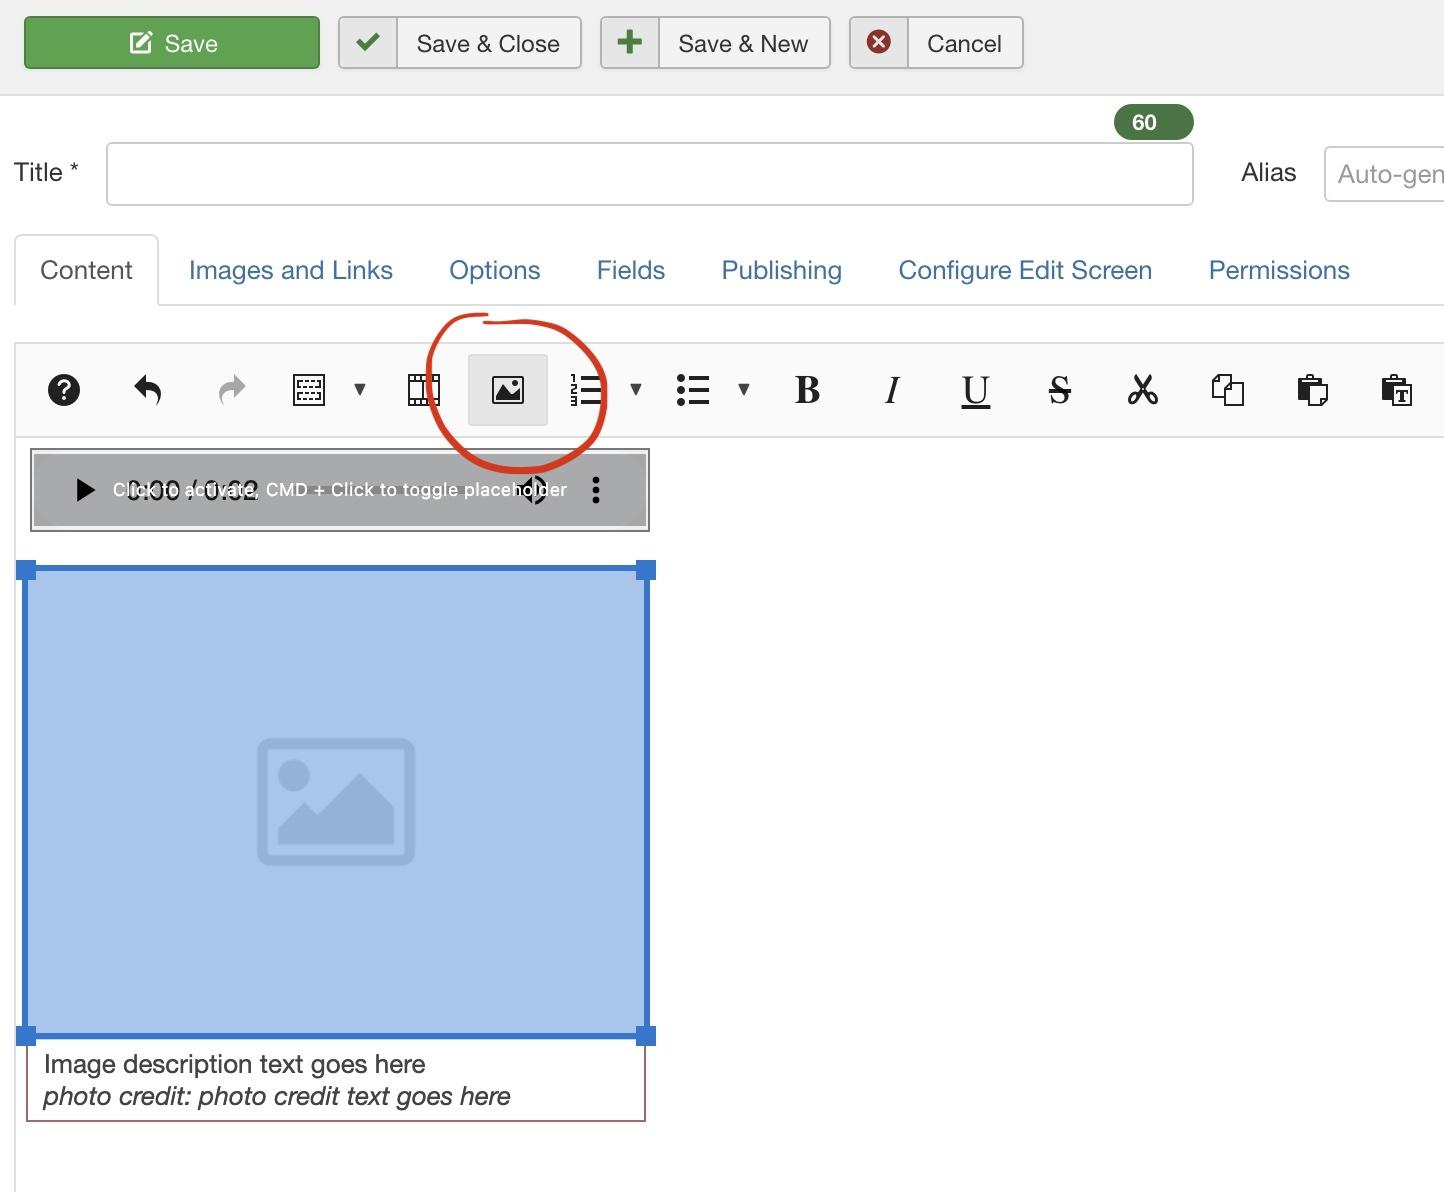
Once you have the template you selected, click on the placeholder image and it will highlight in blue:
Next, select the image browsing button:
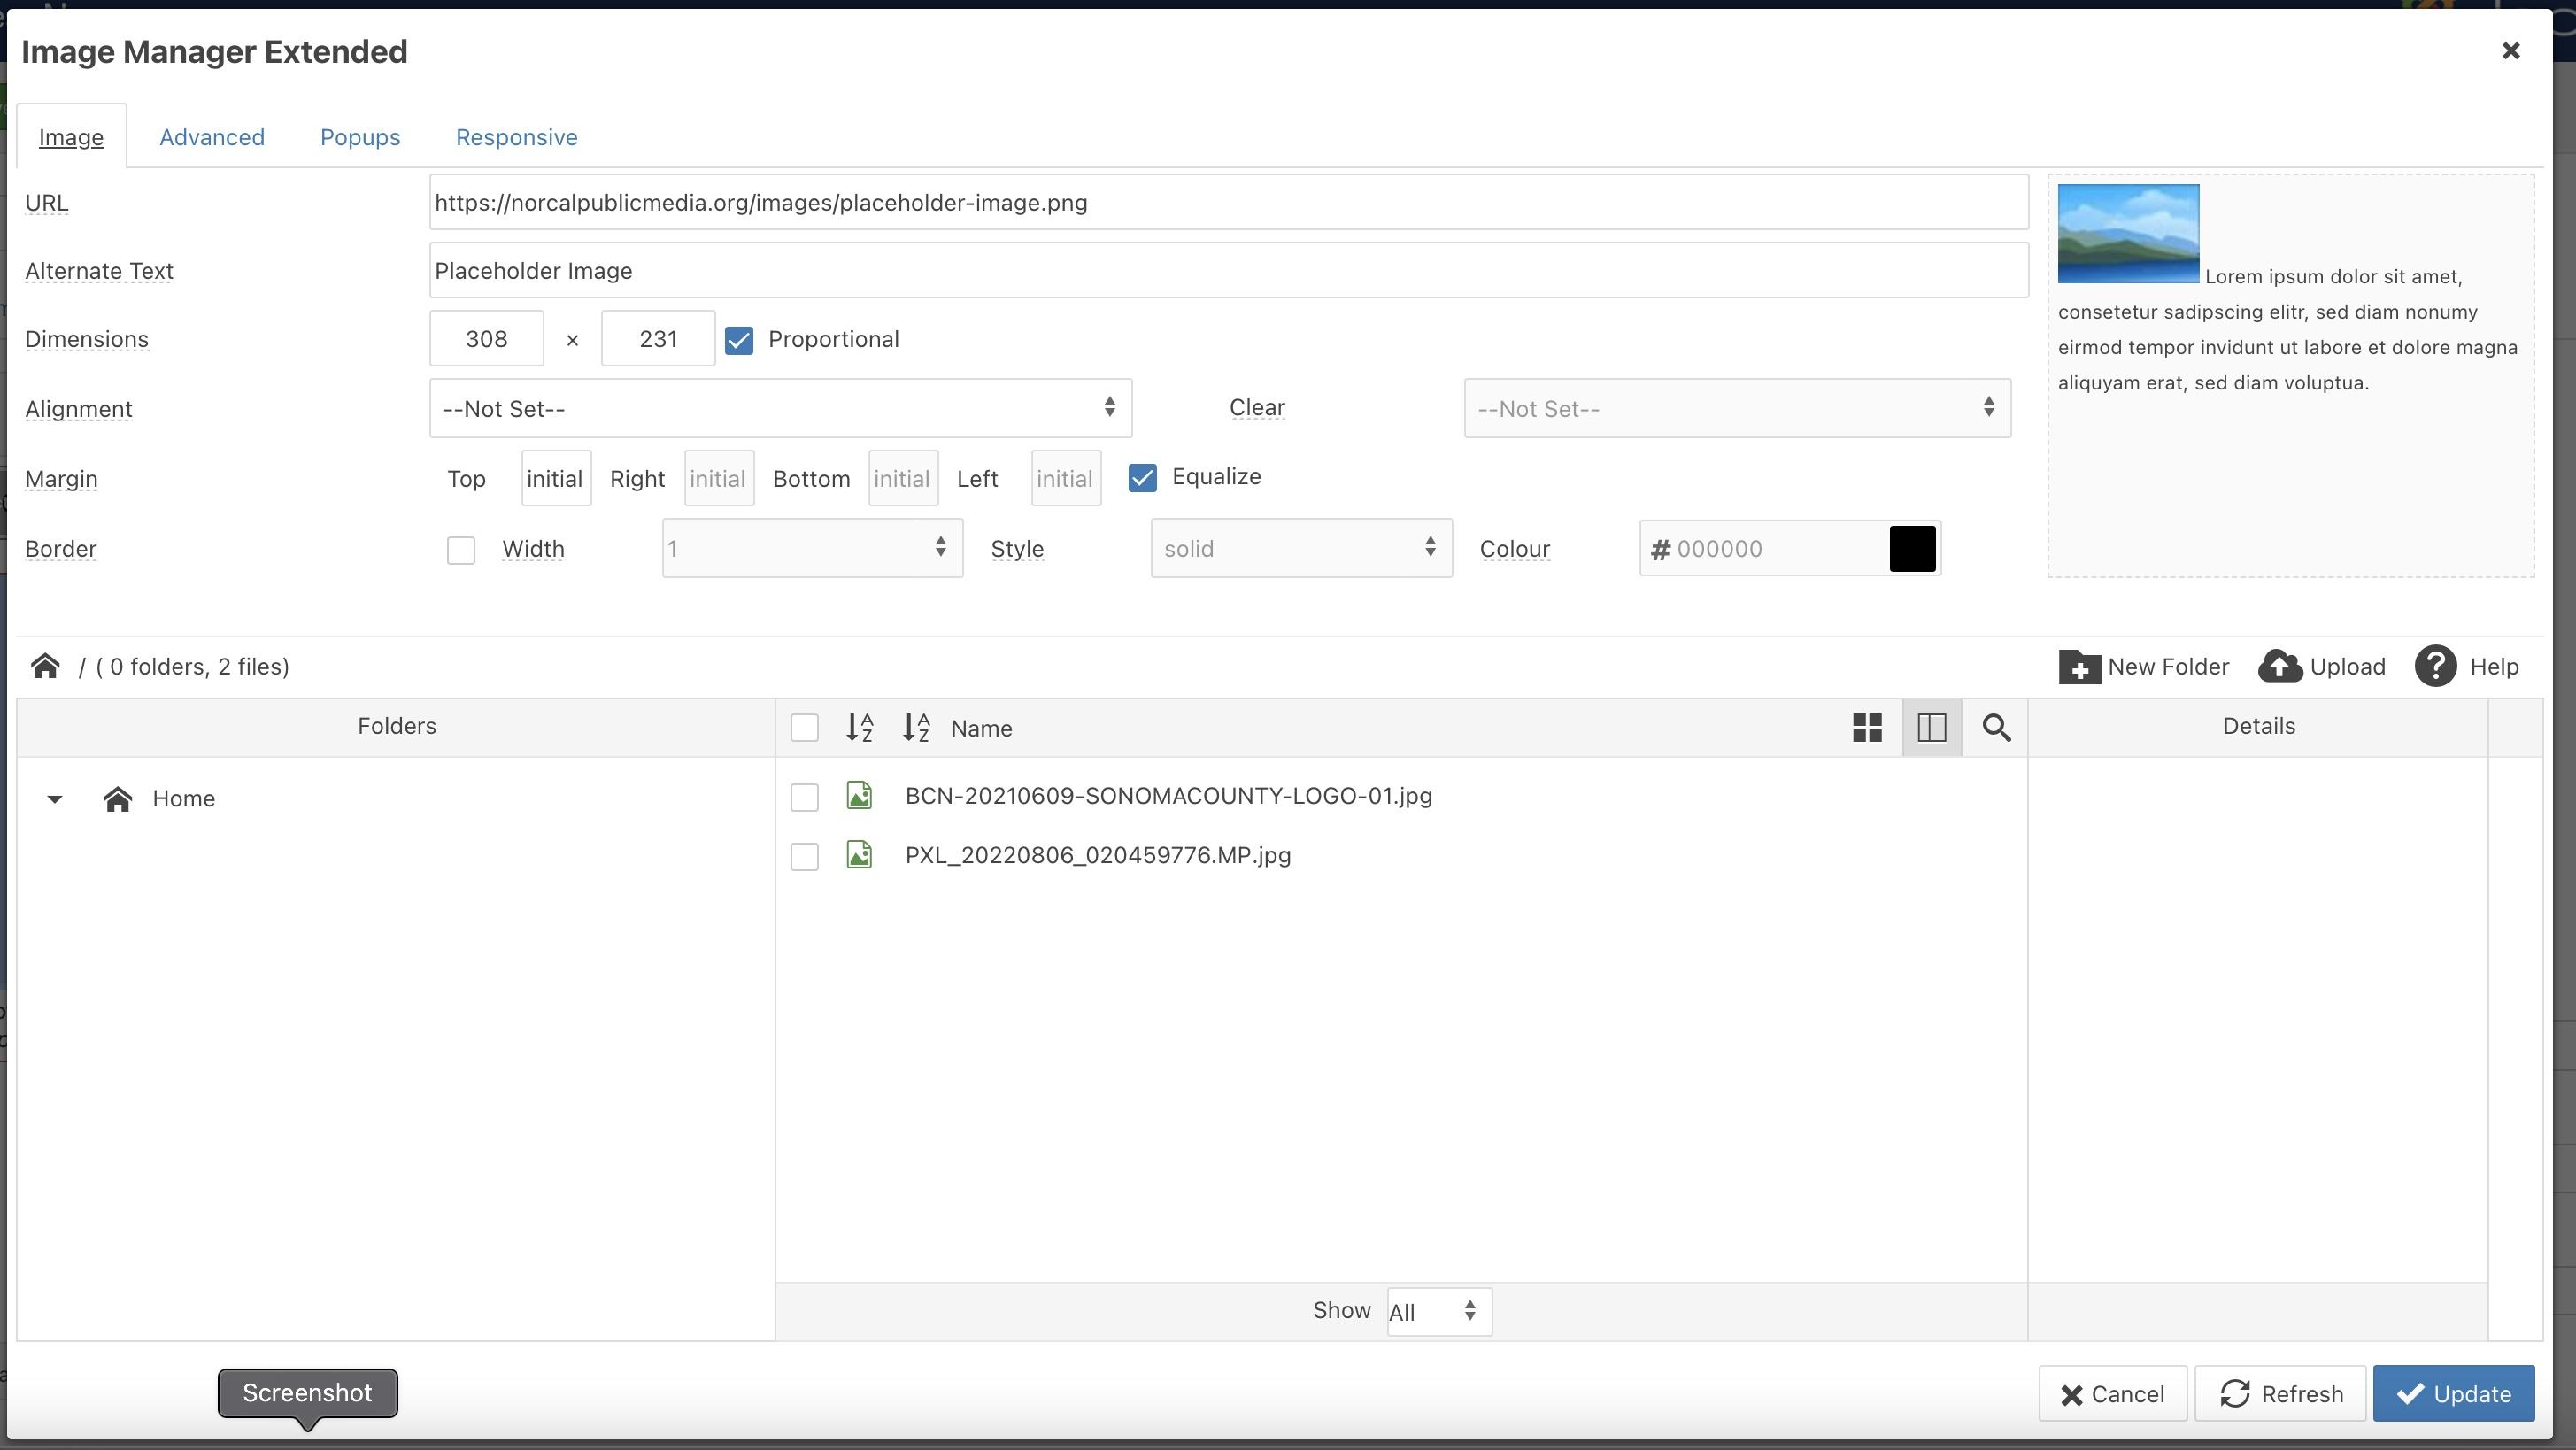
You will then see the image manager you are familiar with, where you can upload a new image and replace the placeholder with a new image then click “Update”.
Change nothing else in this window & it will retain the formatting and look you are accustomed to.
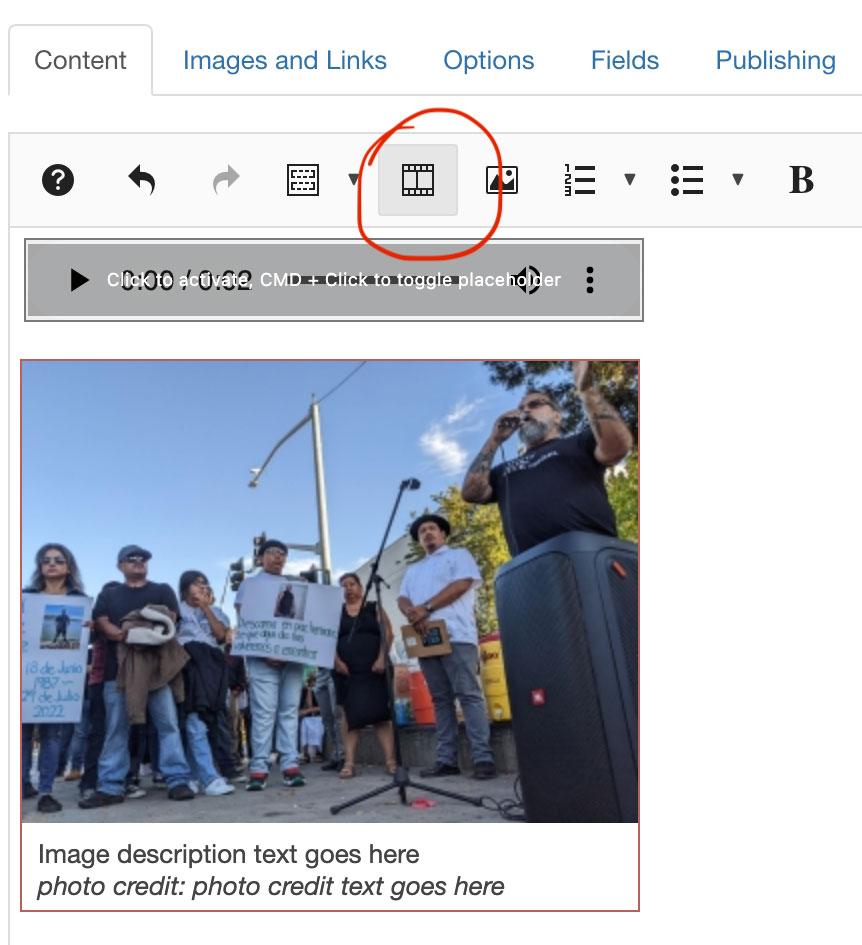
Next, click on the placeholder audio file:
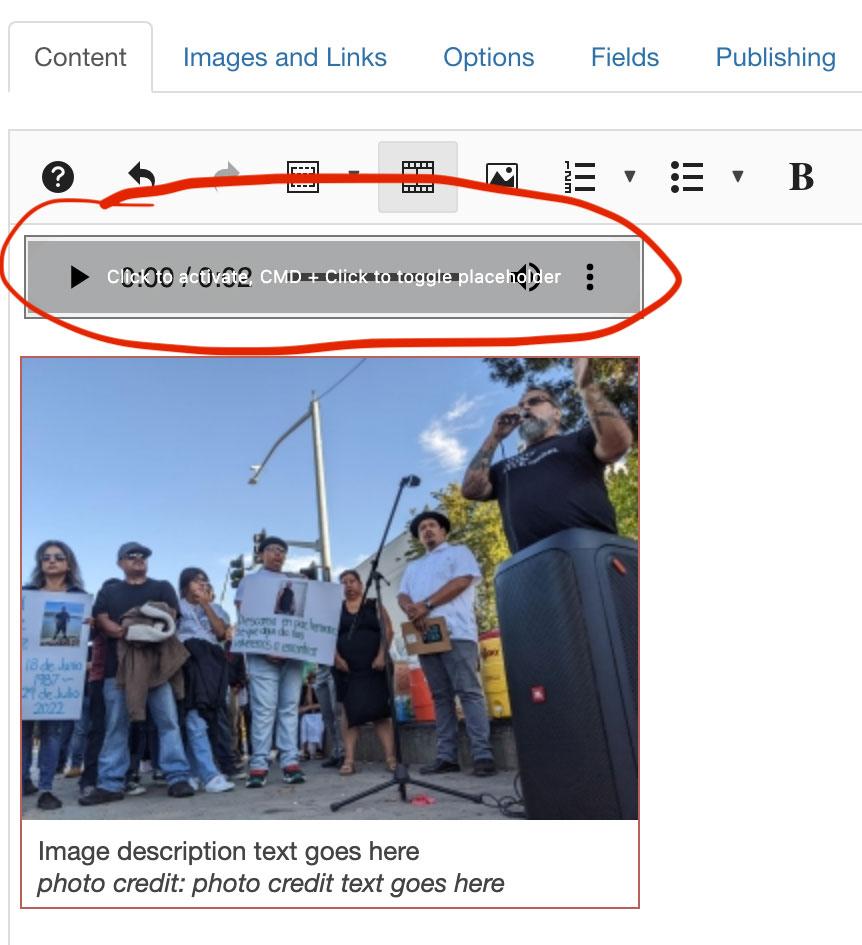
Then click the media button to upload and replace the placeholder audio file:
You will see the Media Manager window you are familiar with. Upload your audio file and select it to update the placeholder audio file:

Click your cursor to the right of the image, then select the ‘Paste as Plain Text’ button to insert your main Article text for this news story:
Remember to save early, save often!
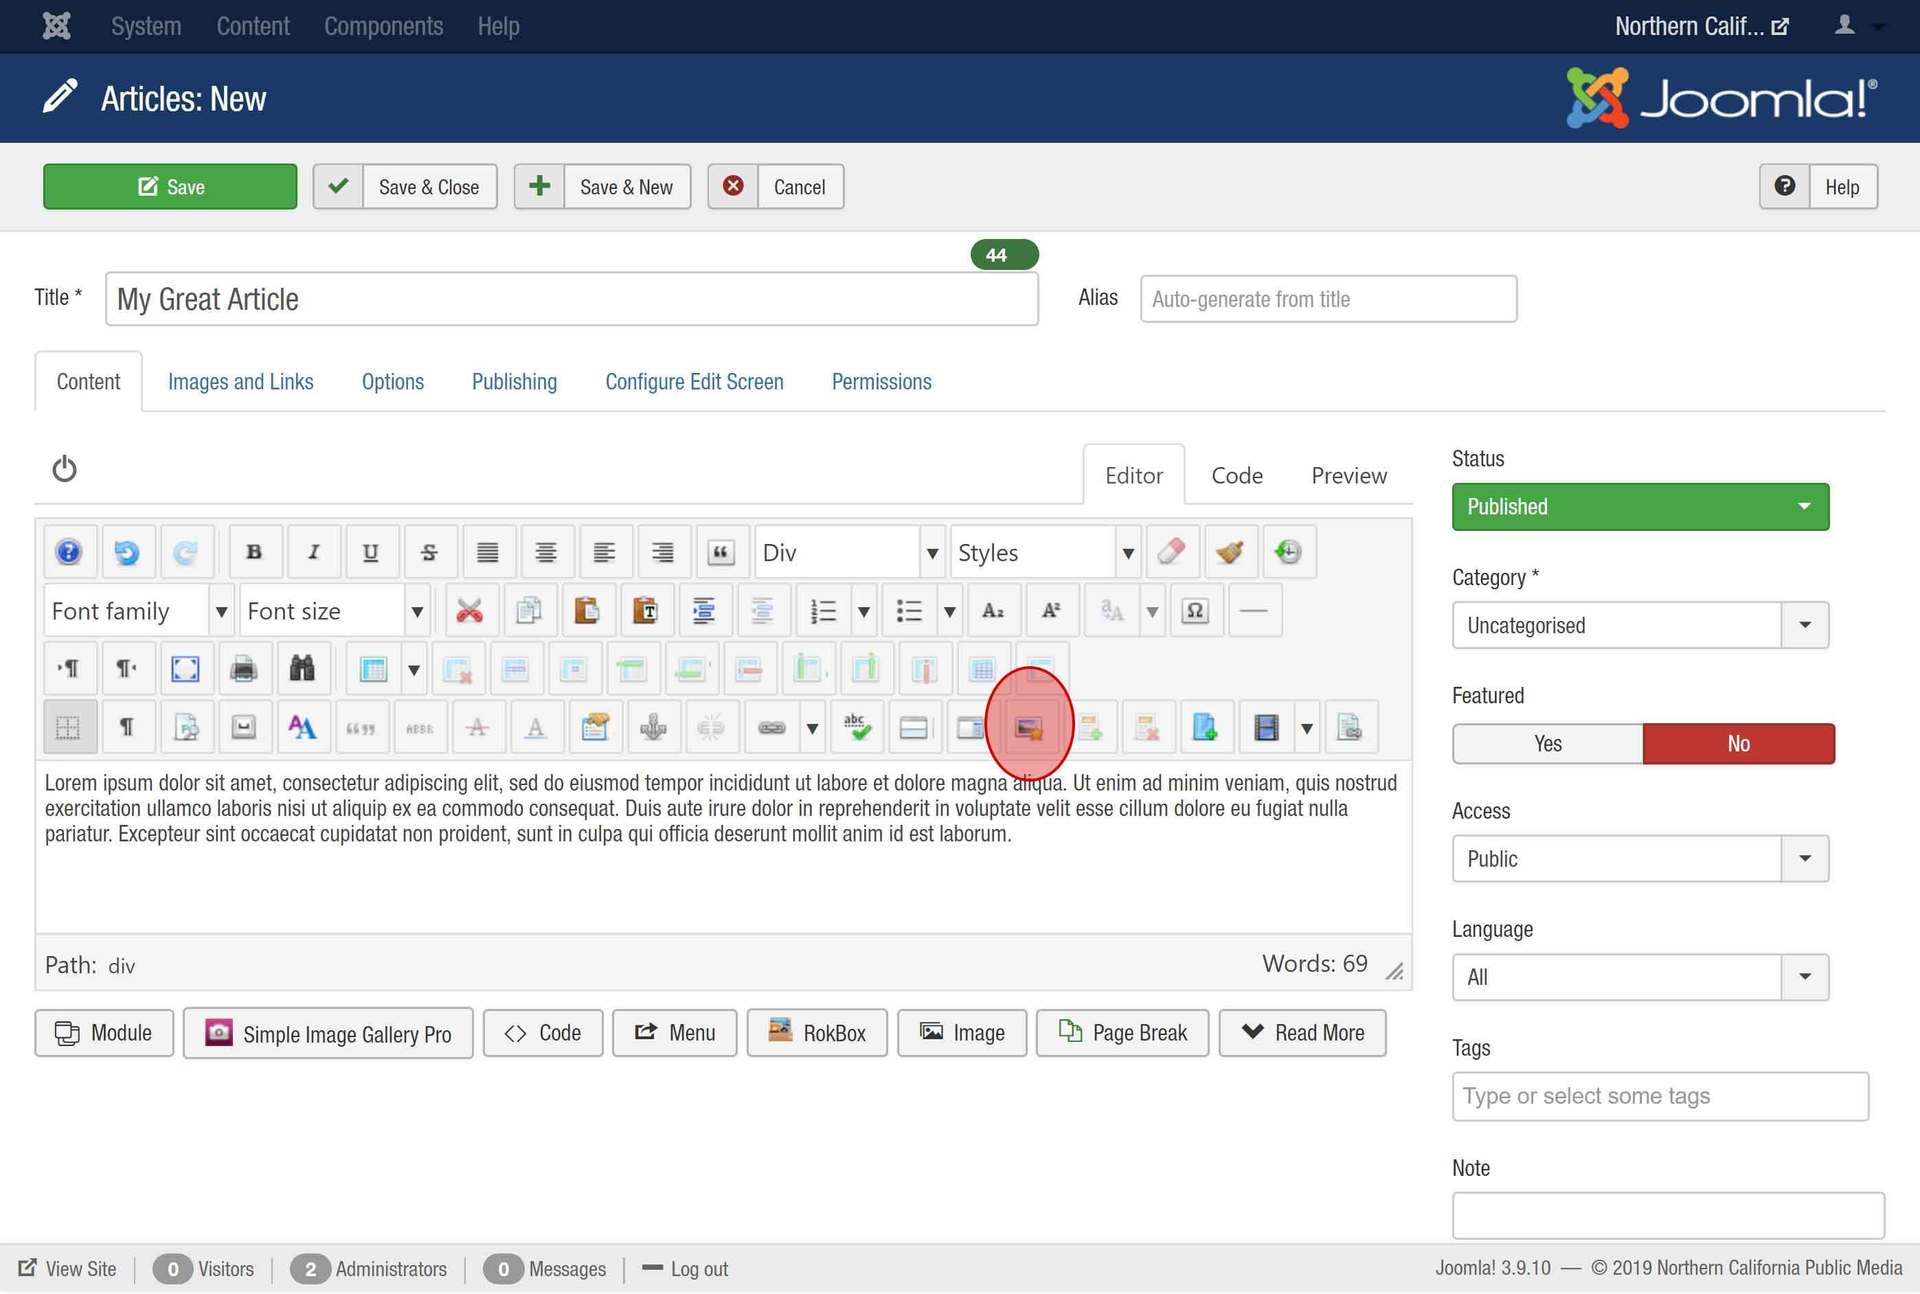
To begin add an image to an article, make sure the cursor is where you want the image to appear - before, after or anywhere within your text.
Click the 'Insert/Edit Image' button.
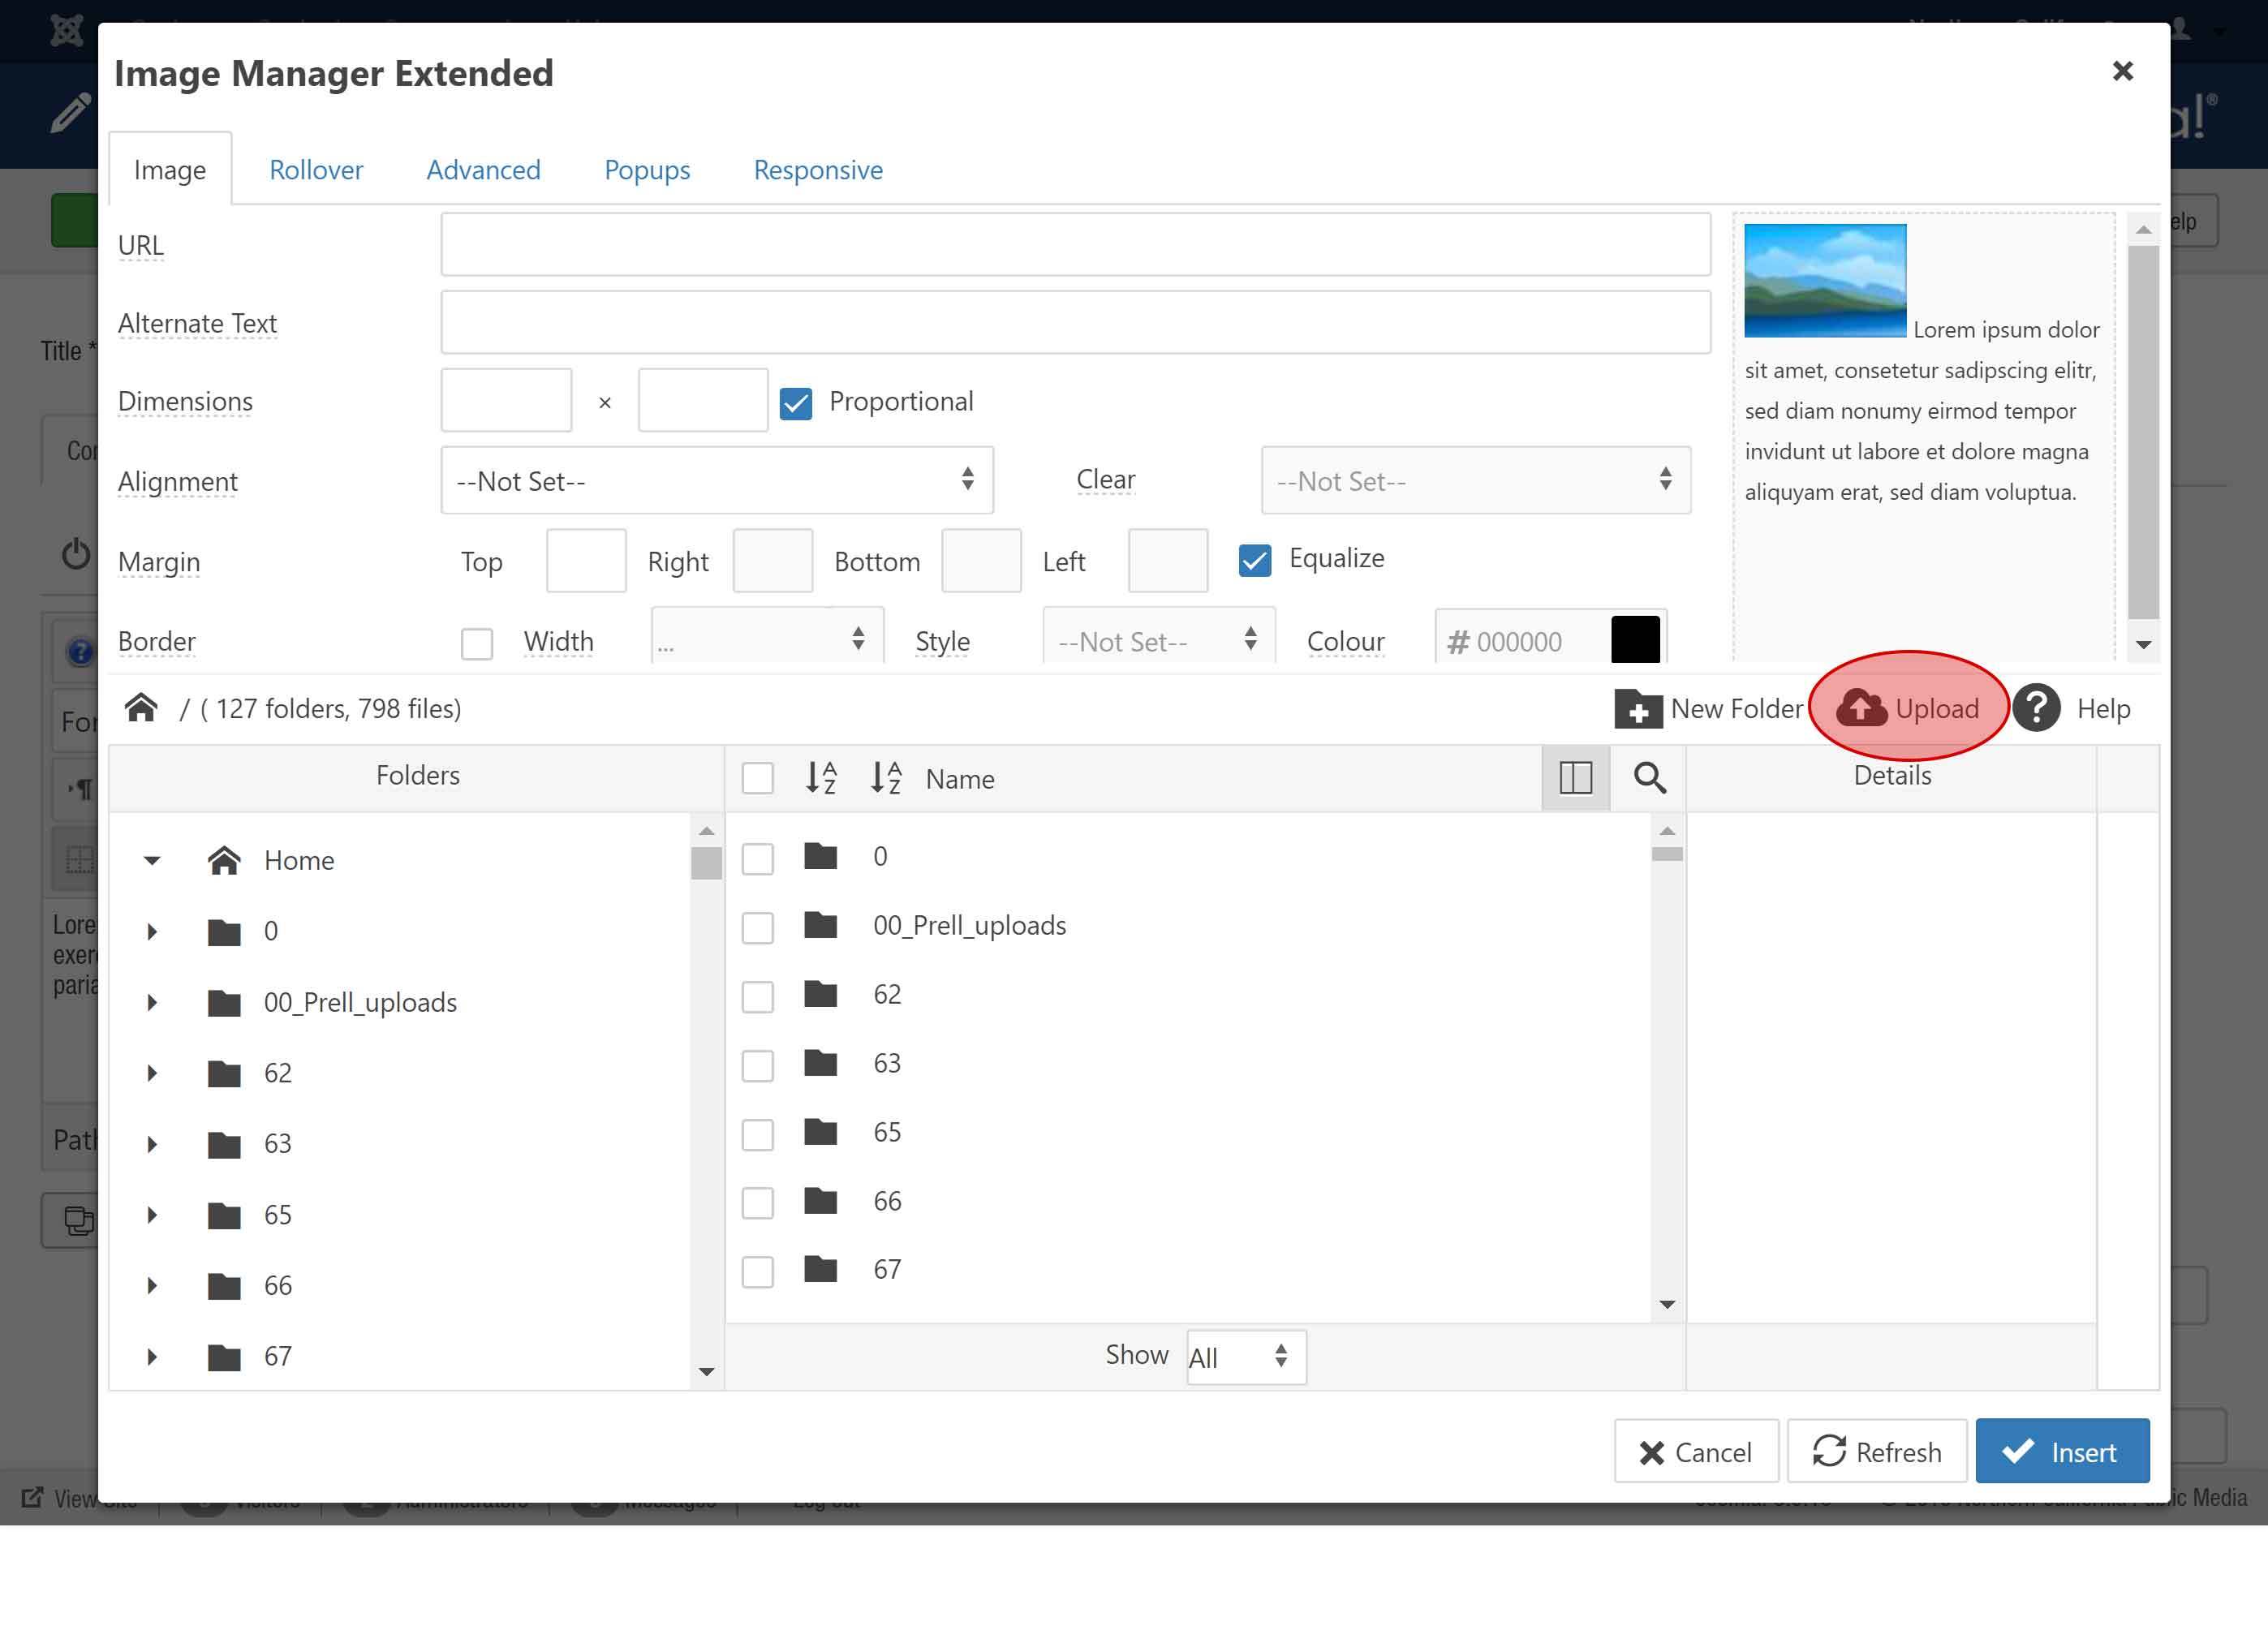
The image editor window is where you upload, edit and manage the properties of image files.
Folders are listed on the left, the content of folders are in the middle and a preview is on the right. Navigate (or create) to the folder you'd like to add an image to.
To upload a new image, click the 'Upload' button.
You can either drag and drop your image into this window or use the 'Browse' button to locate your image on your hard drive.
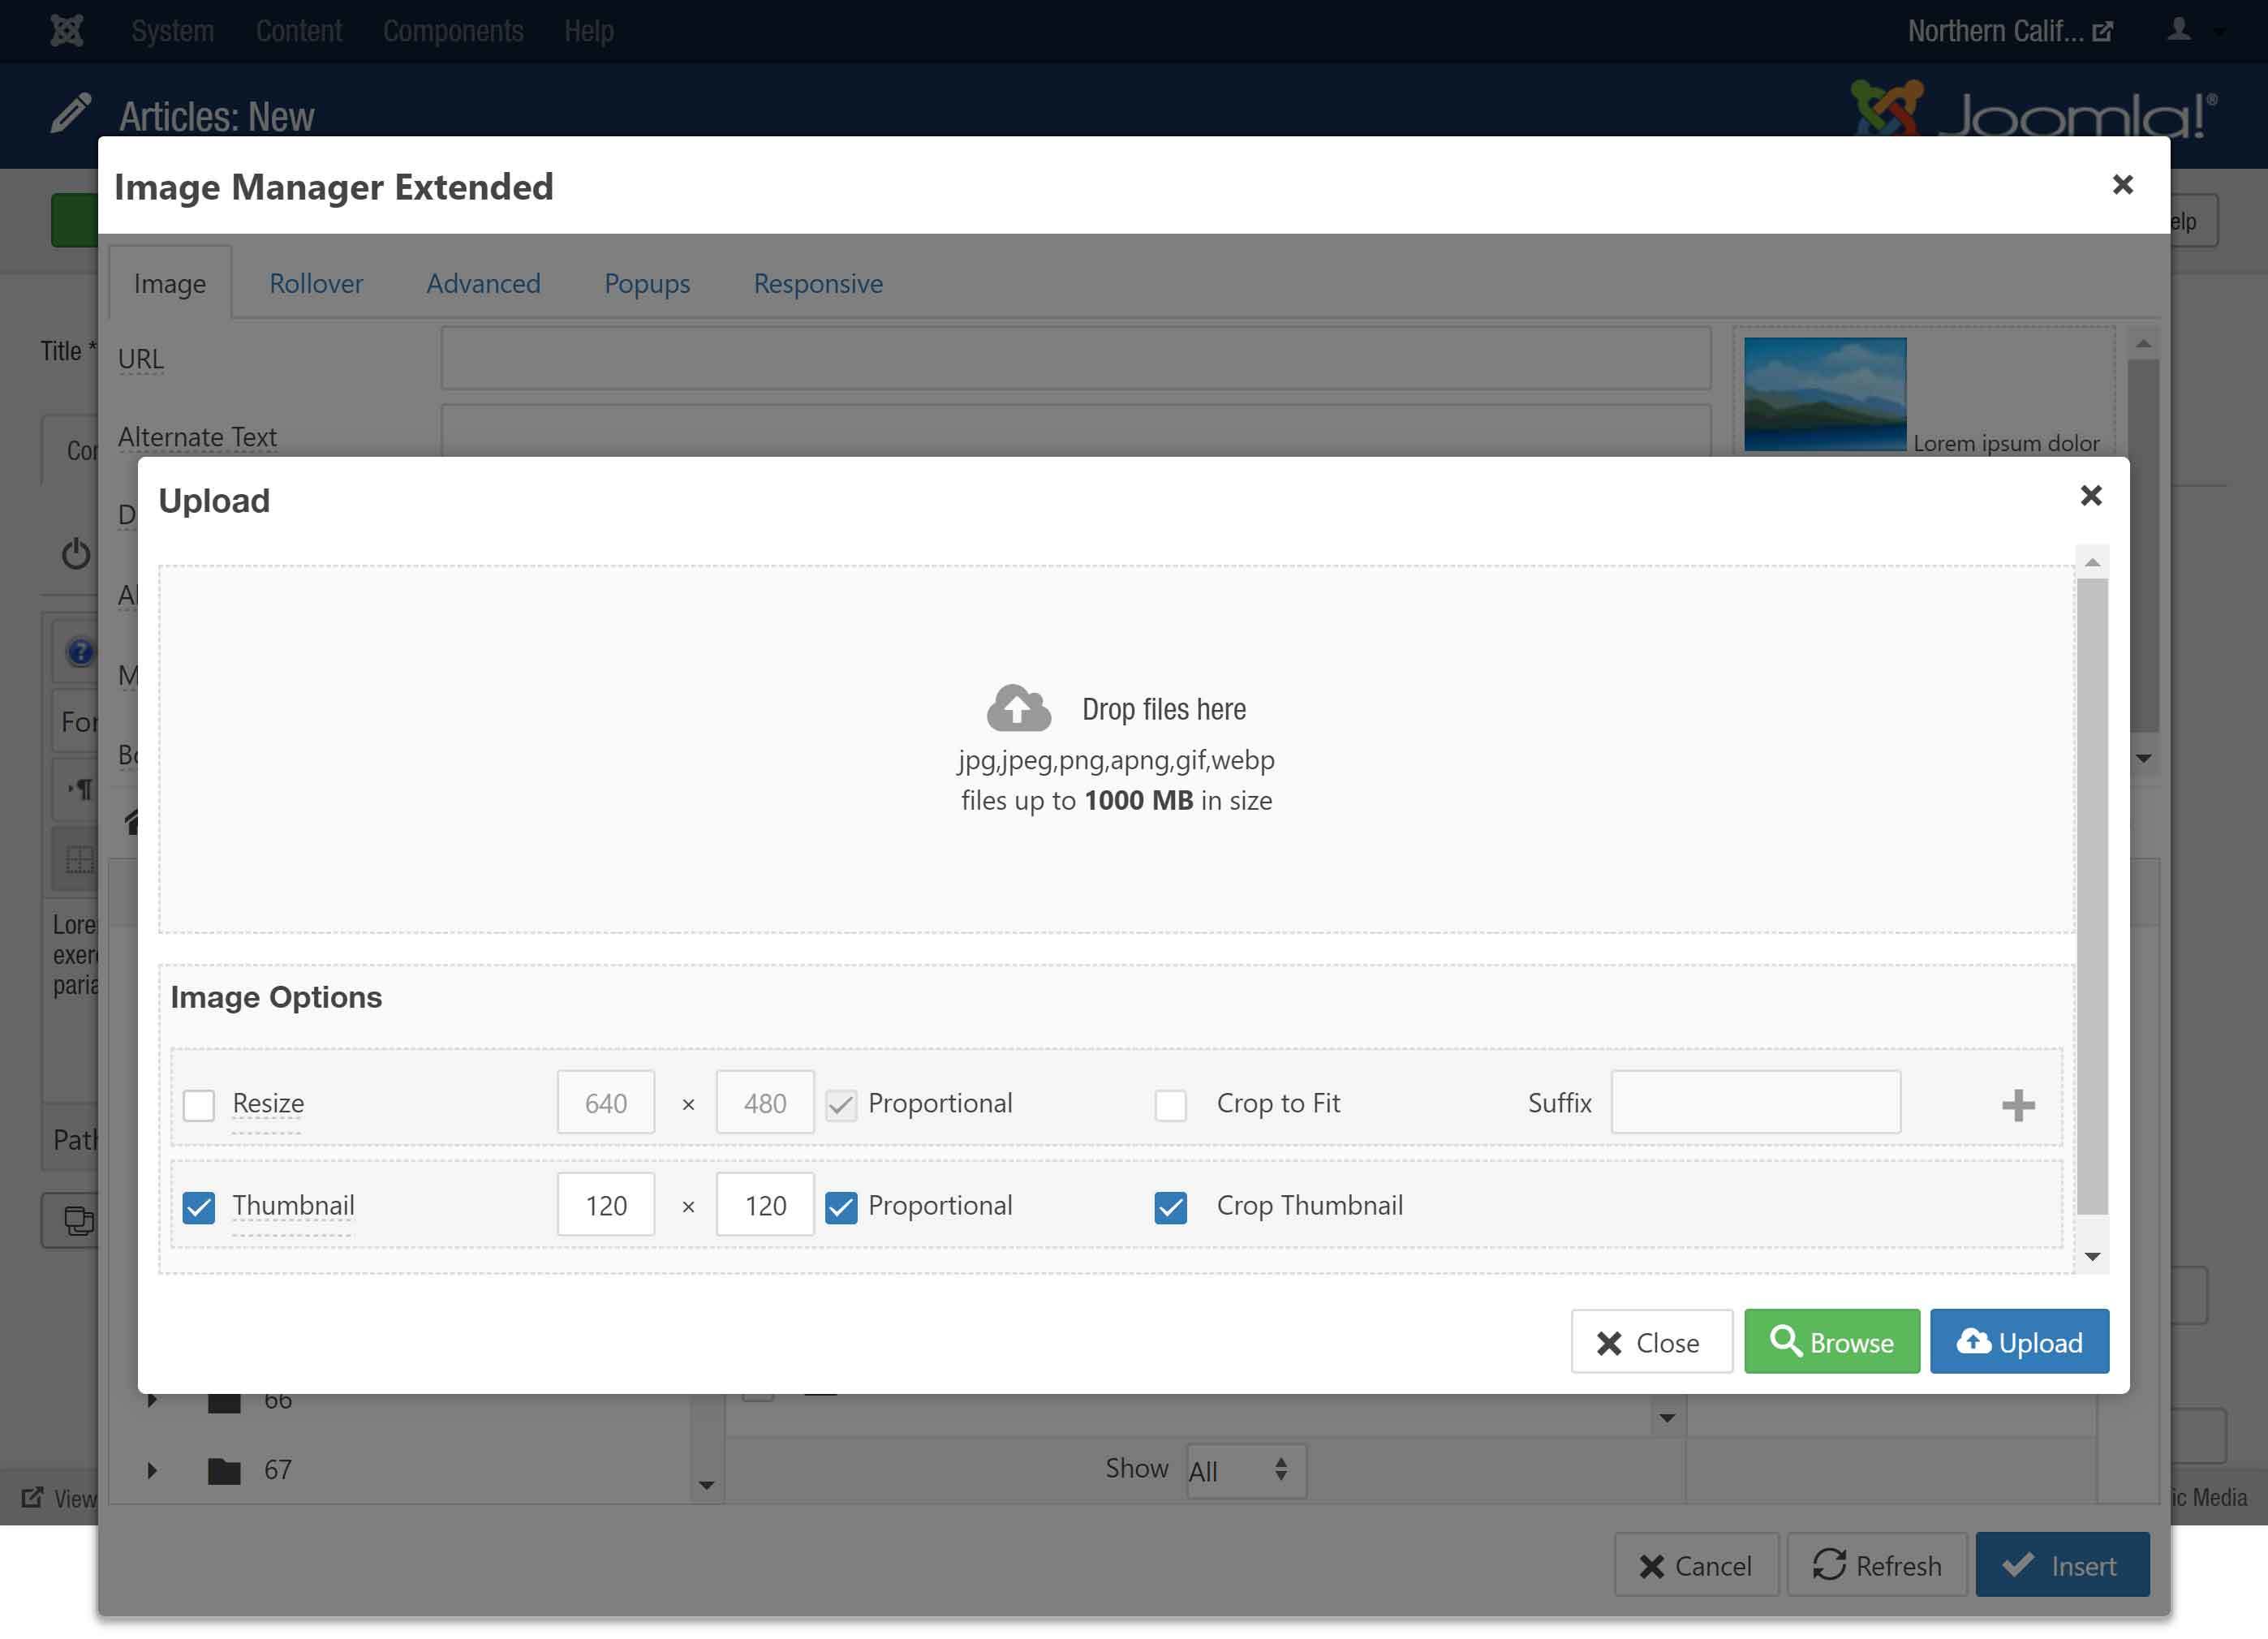
Select your image. You can can add multiple images in this window,
Images can be resized during upload as well if you check the box to resize them. If you wish to resize during upload, enter the desired size in pixels.
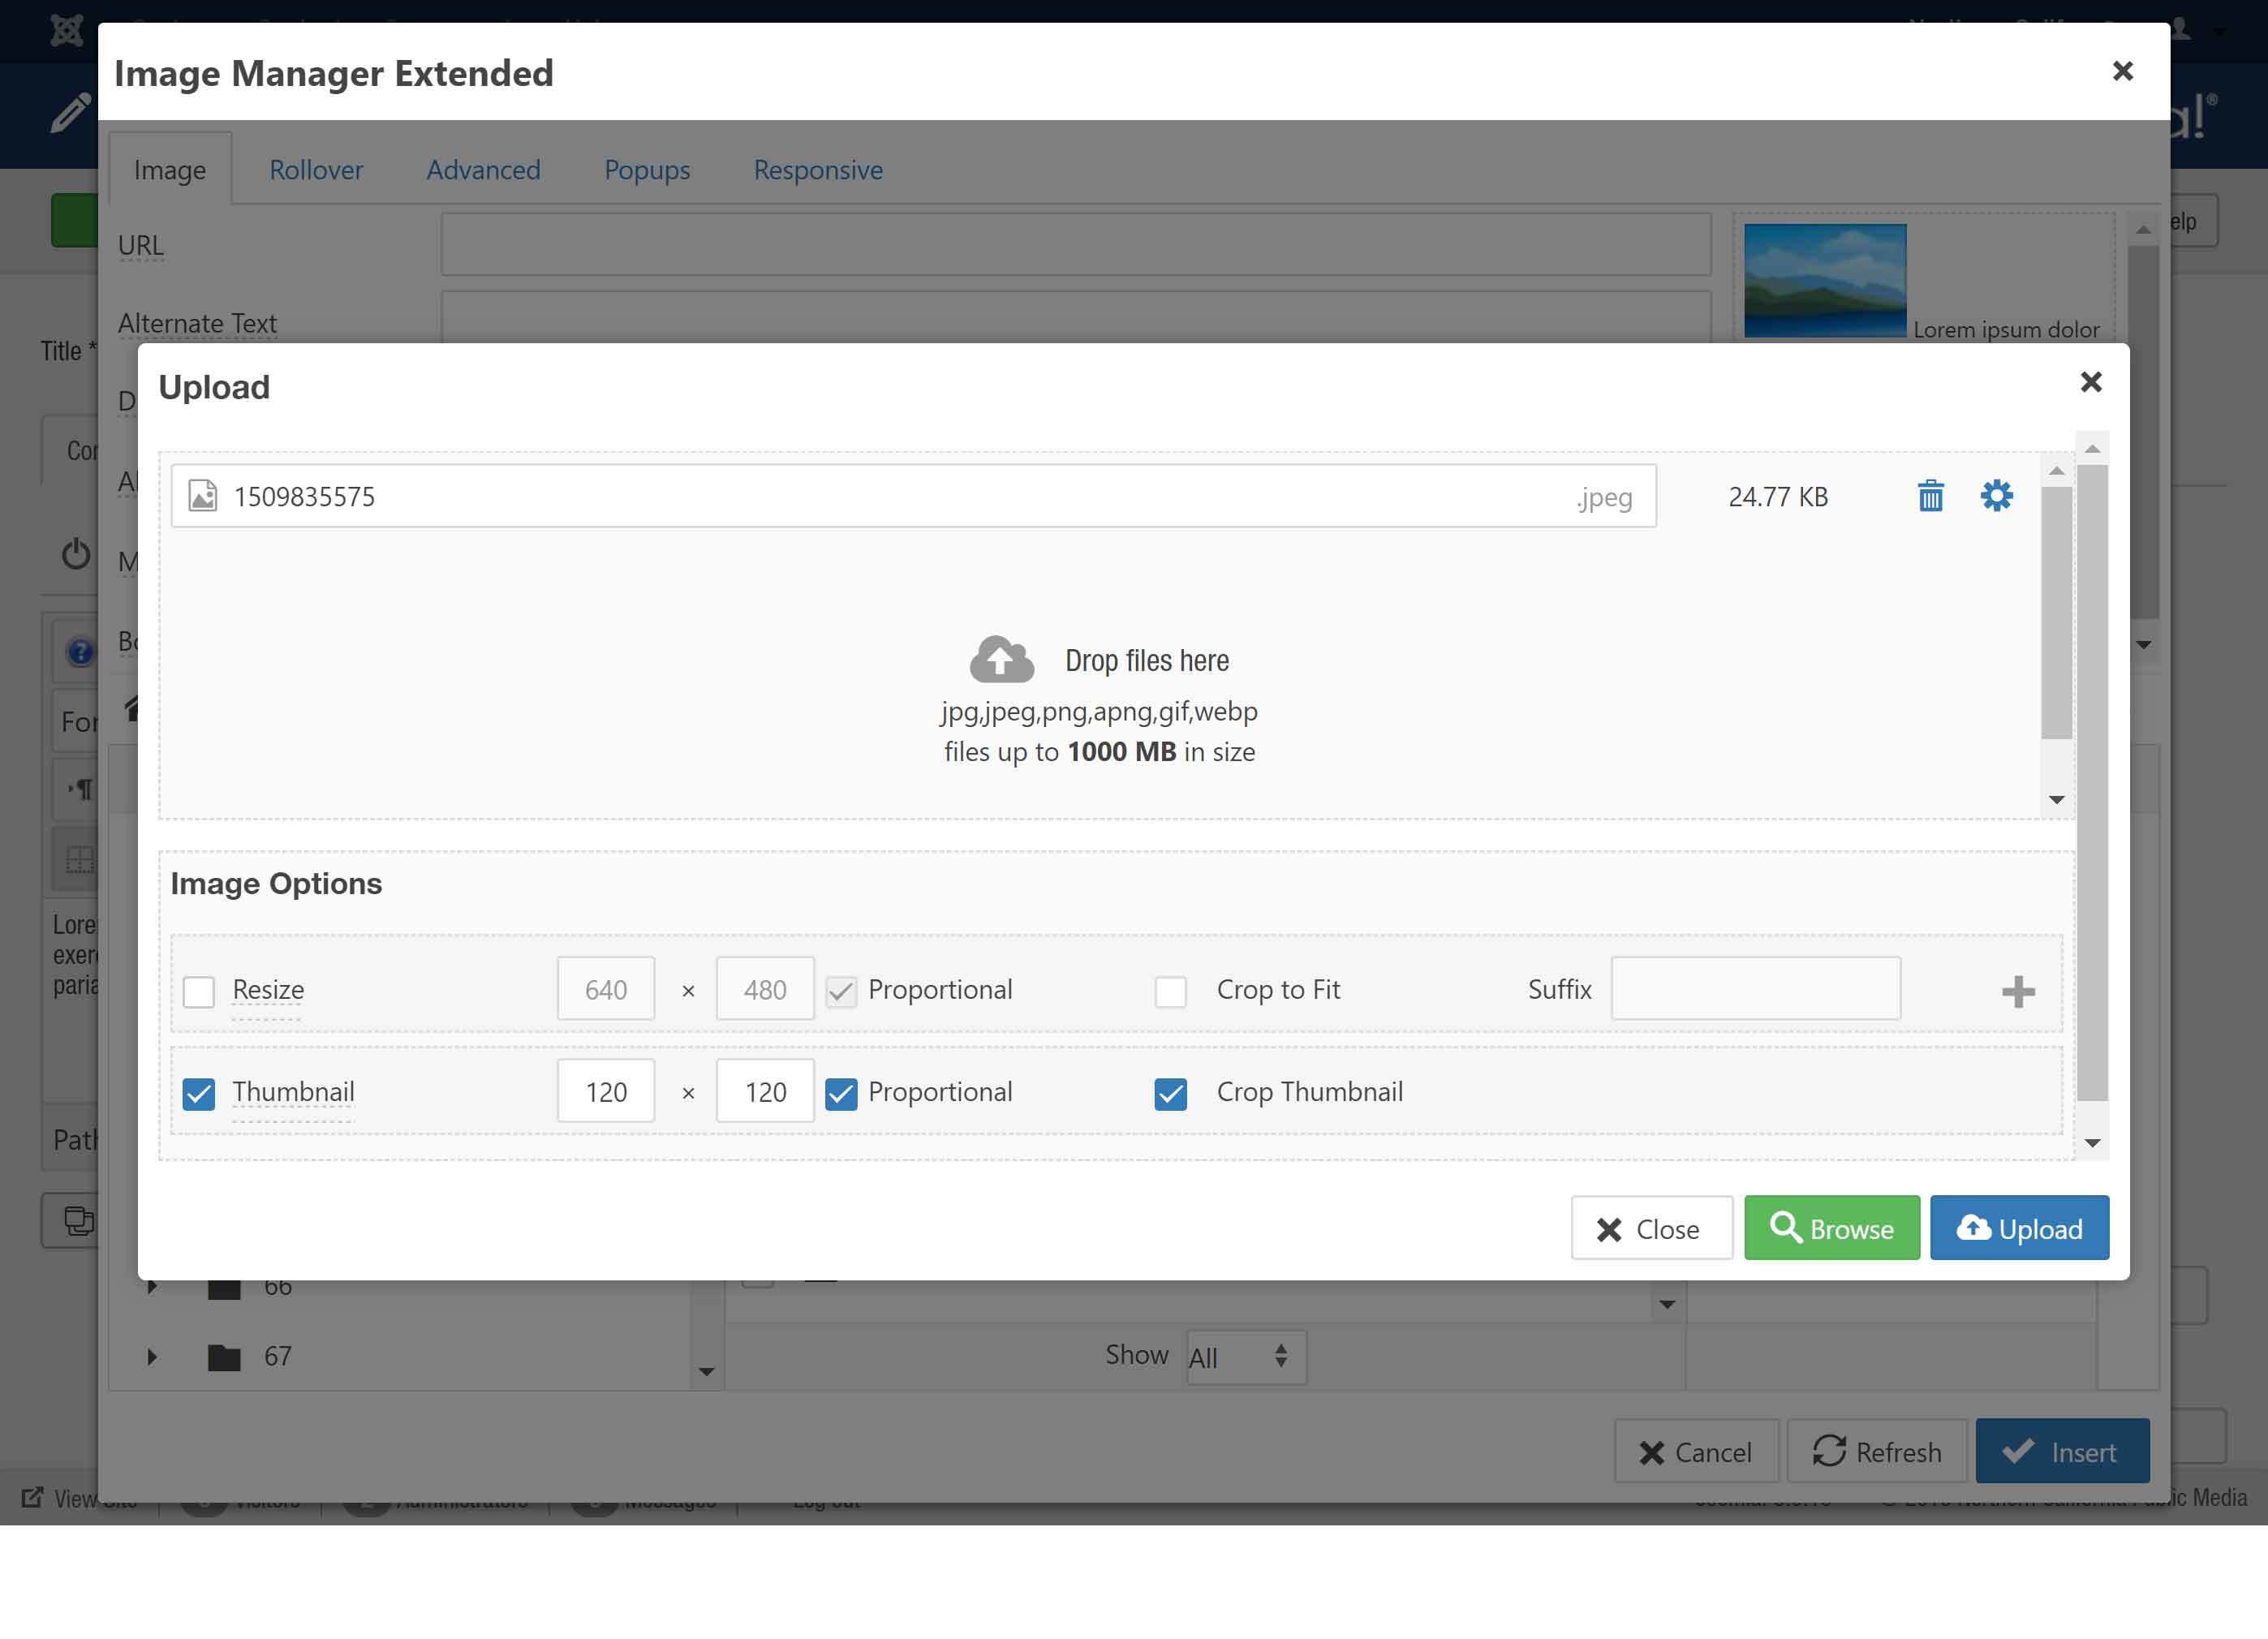
Select your image. You can can add multiple images in this window,
Images can be resized during upload as well if you check the box to resize them. If you wish to resize during upload, enter the desired size in pixels.
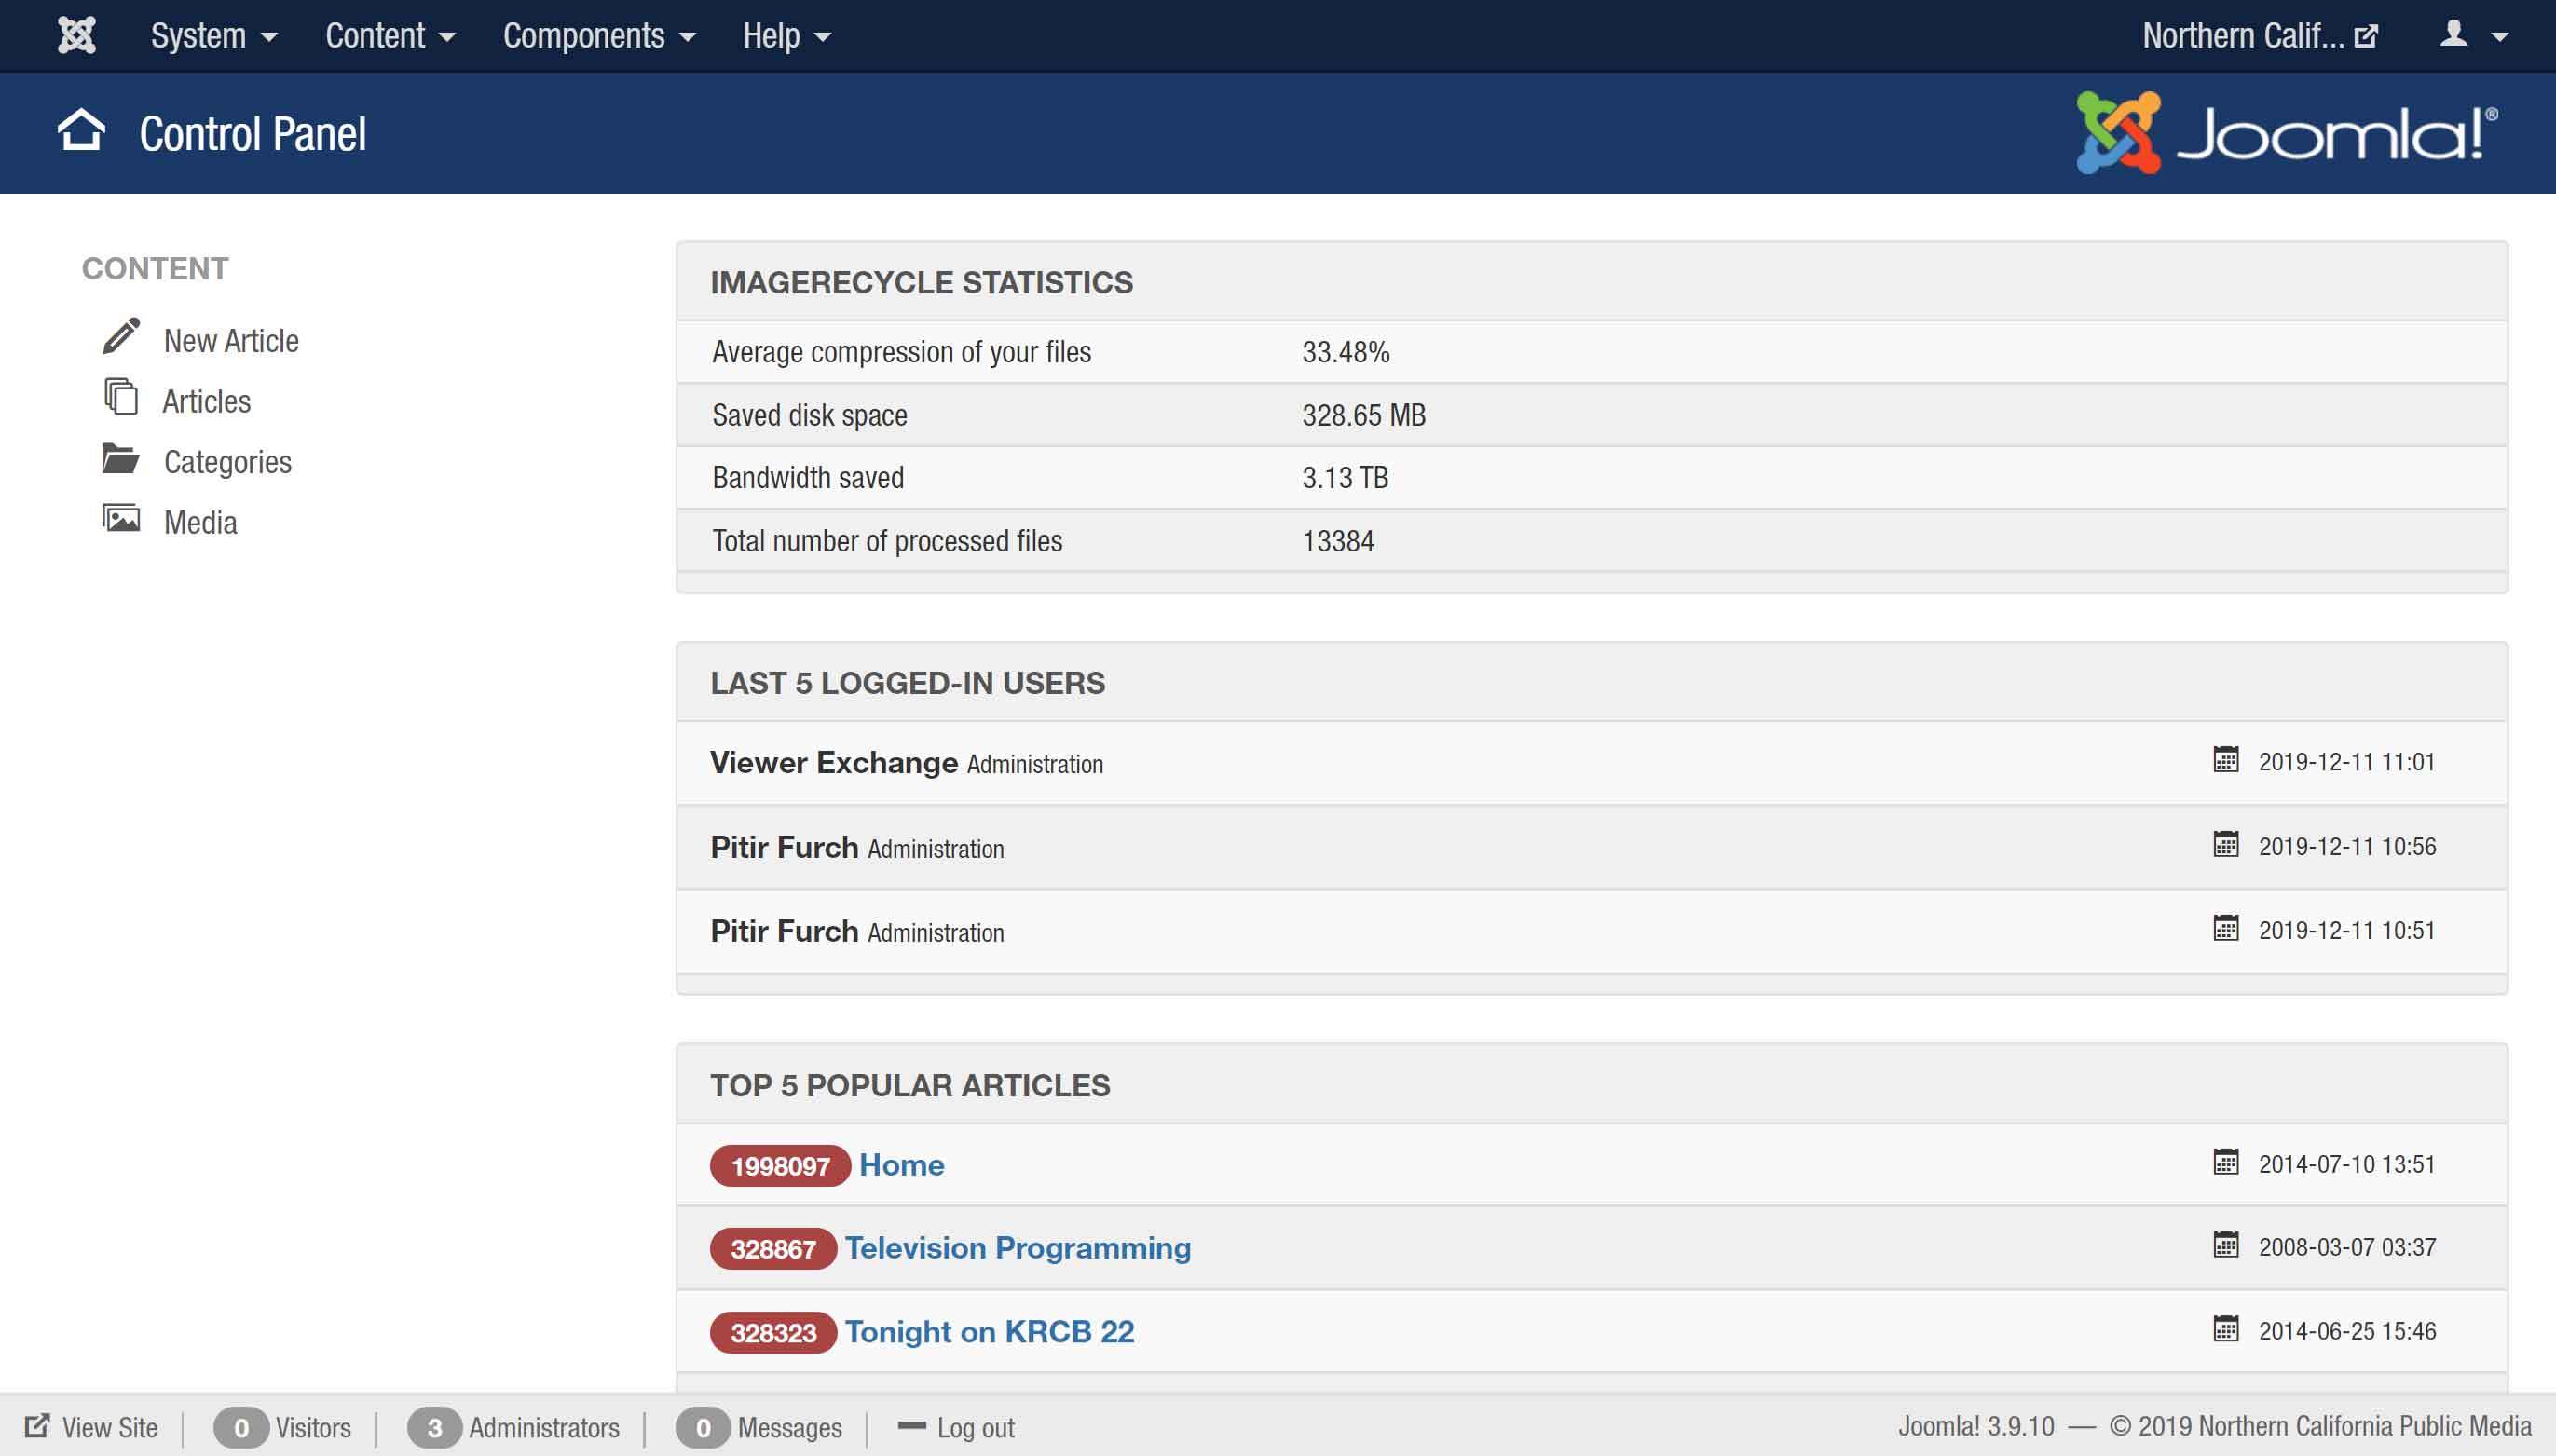
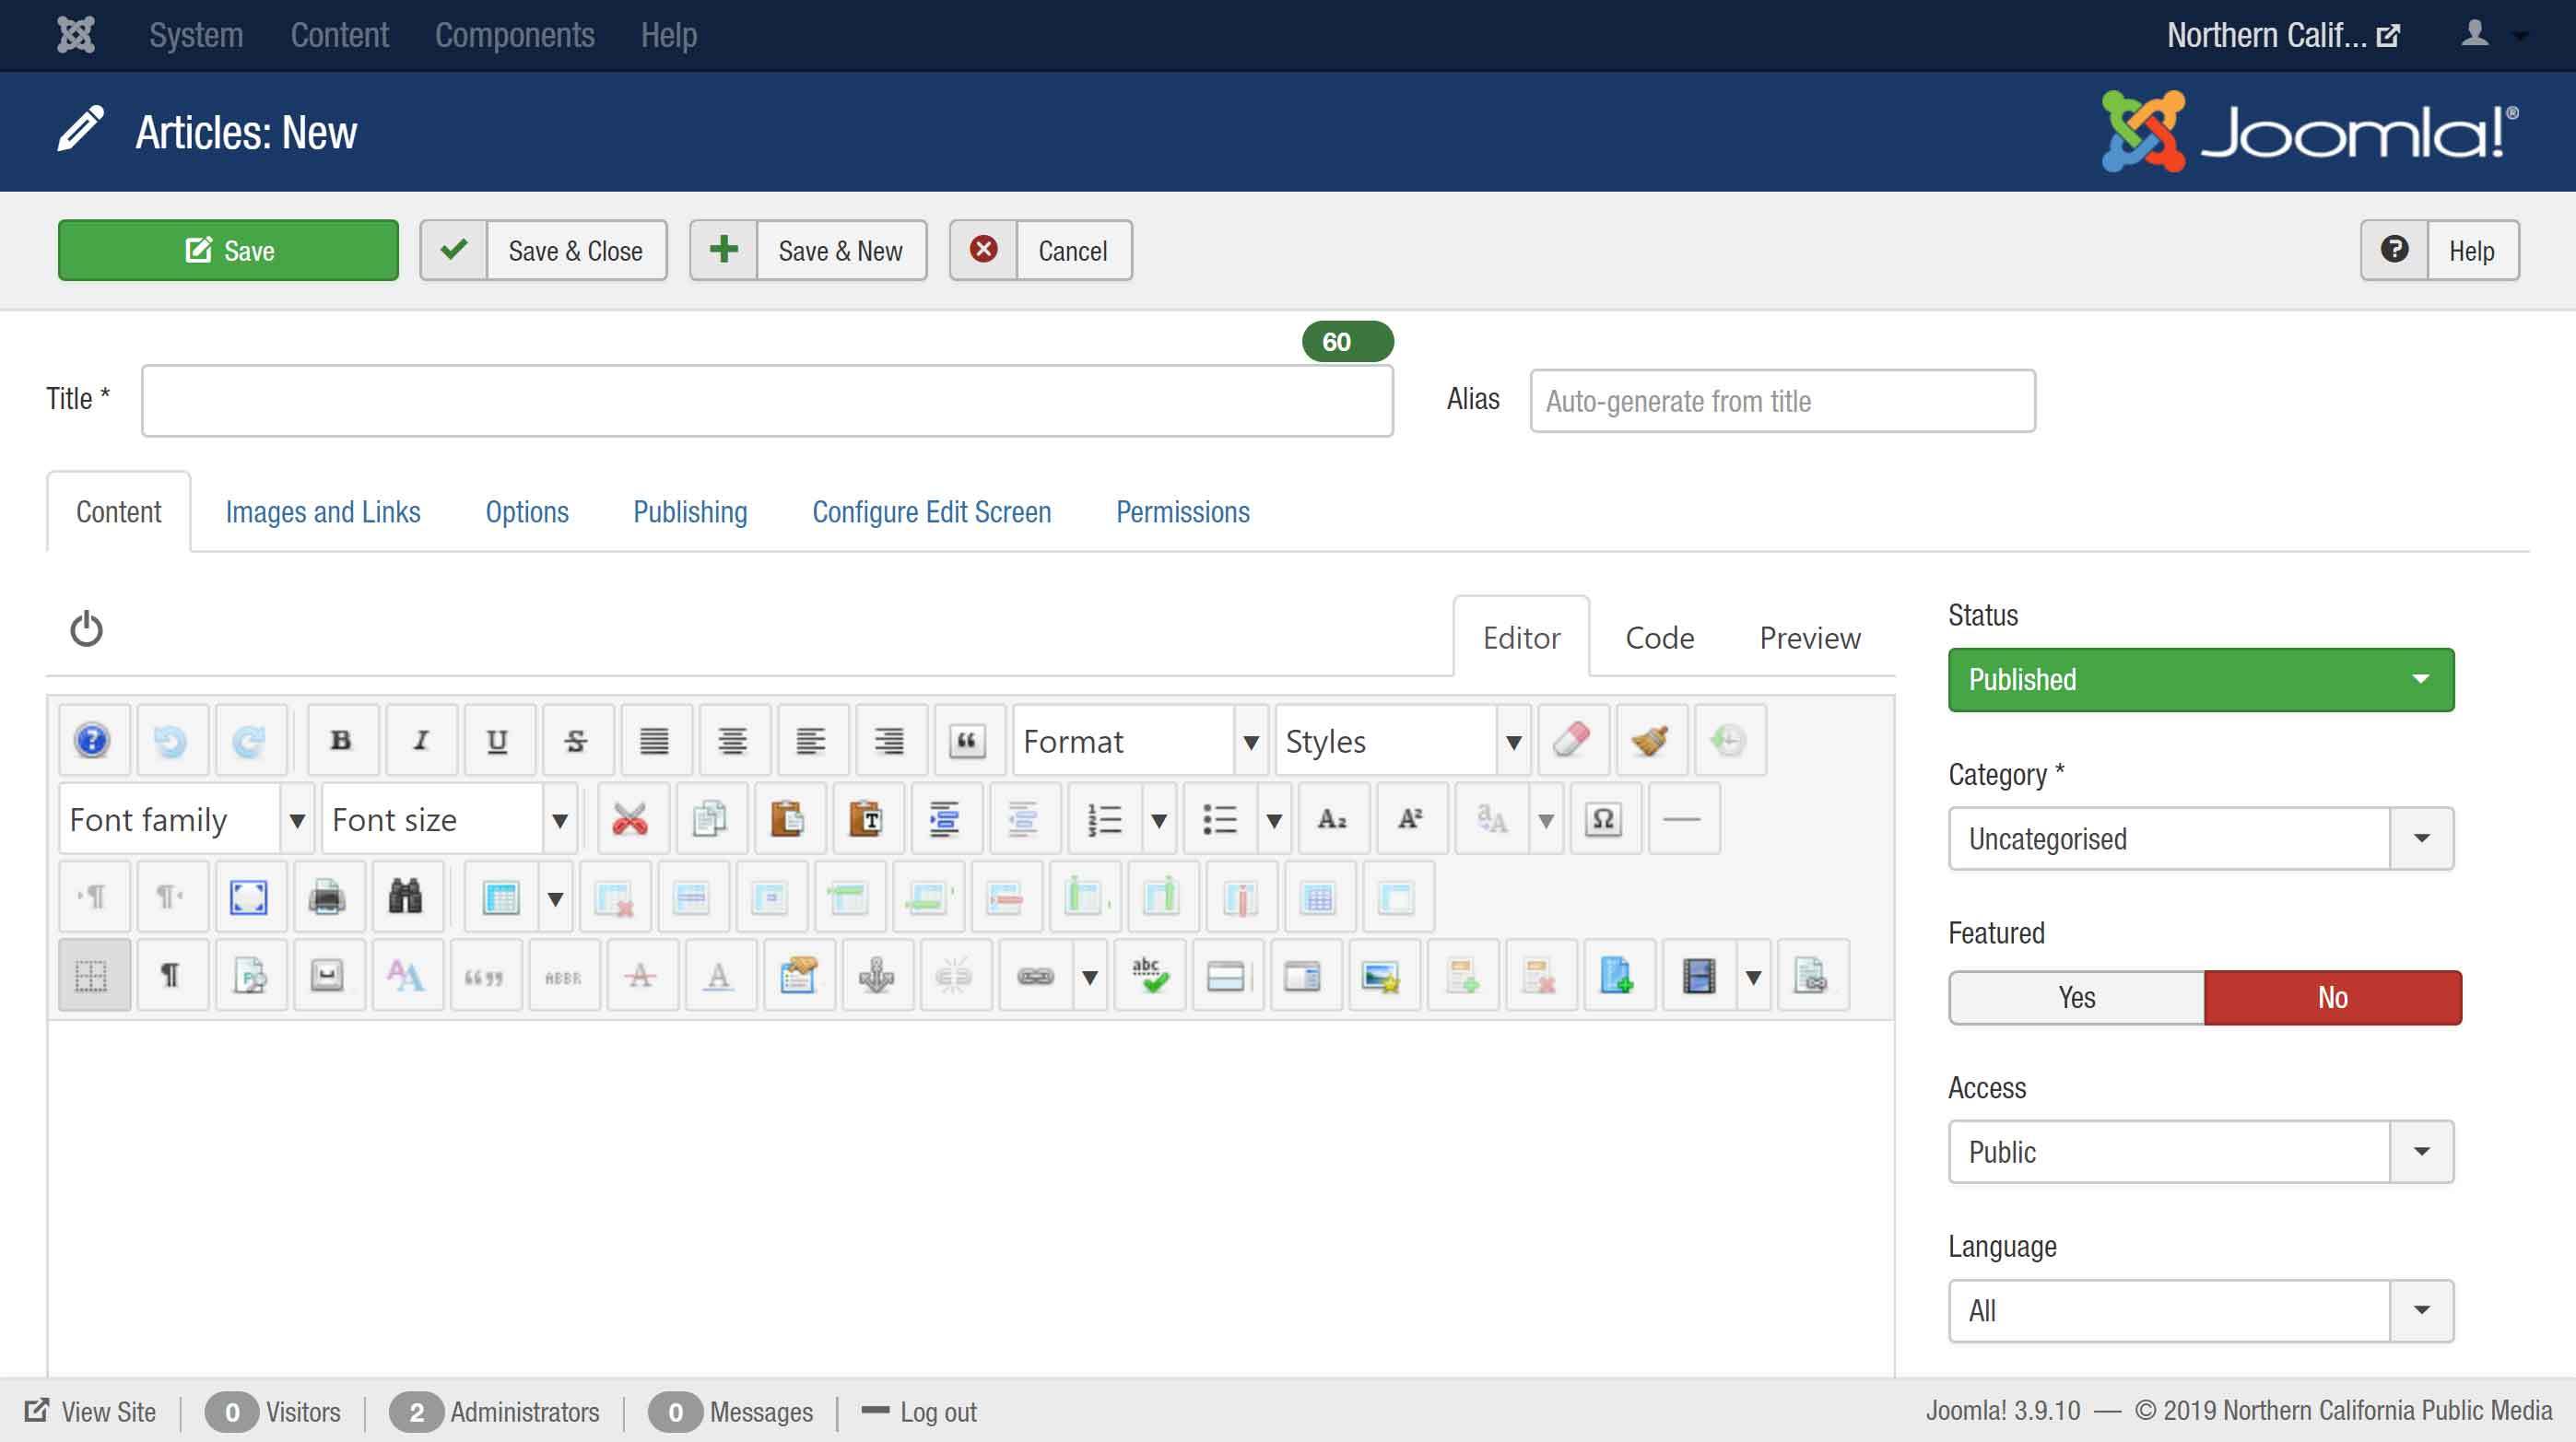
When you first log into Joomla you will see the Administrator Home page:
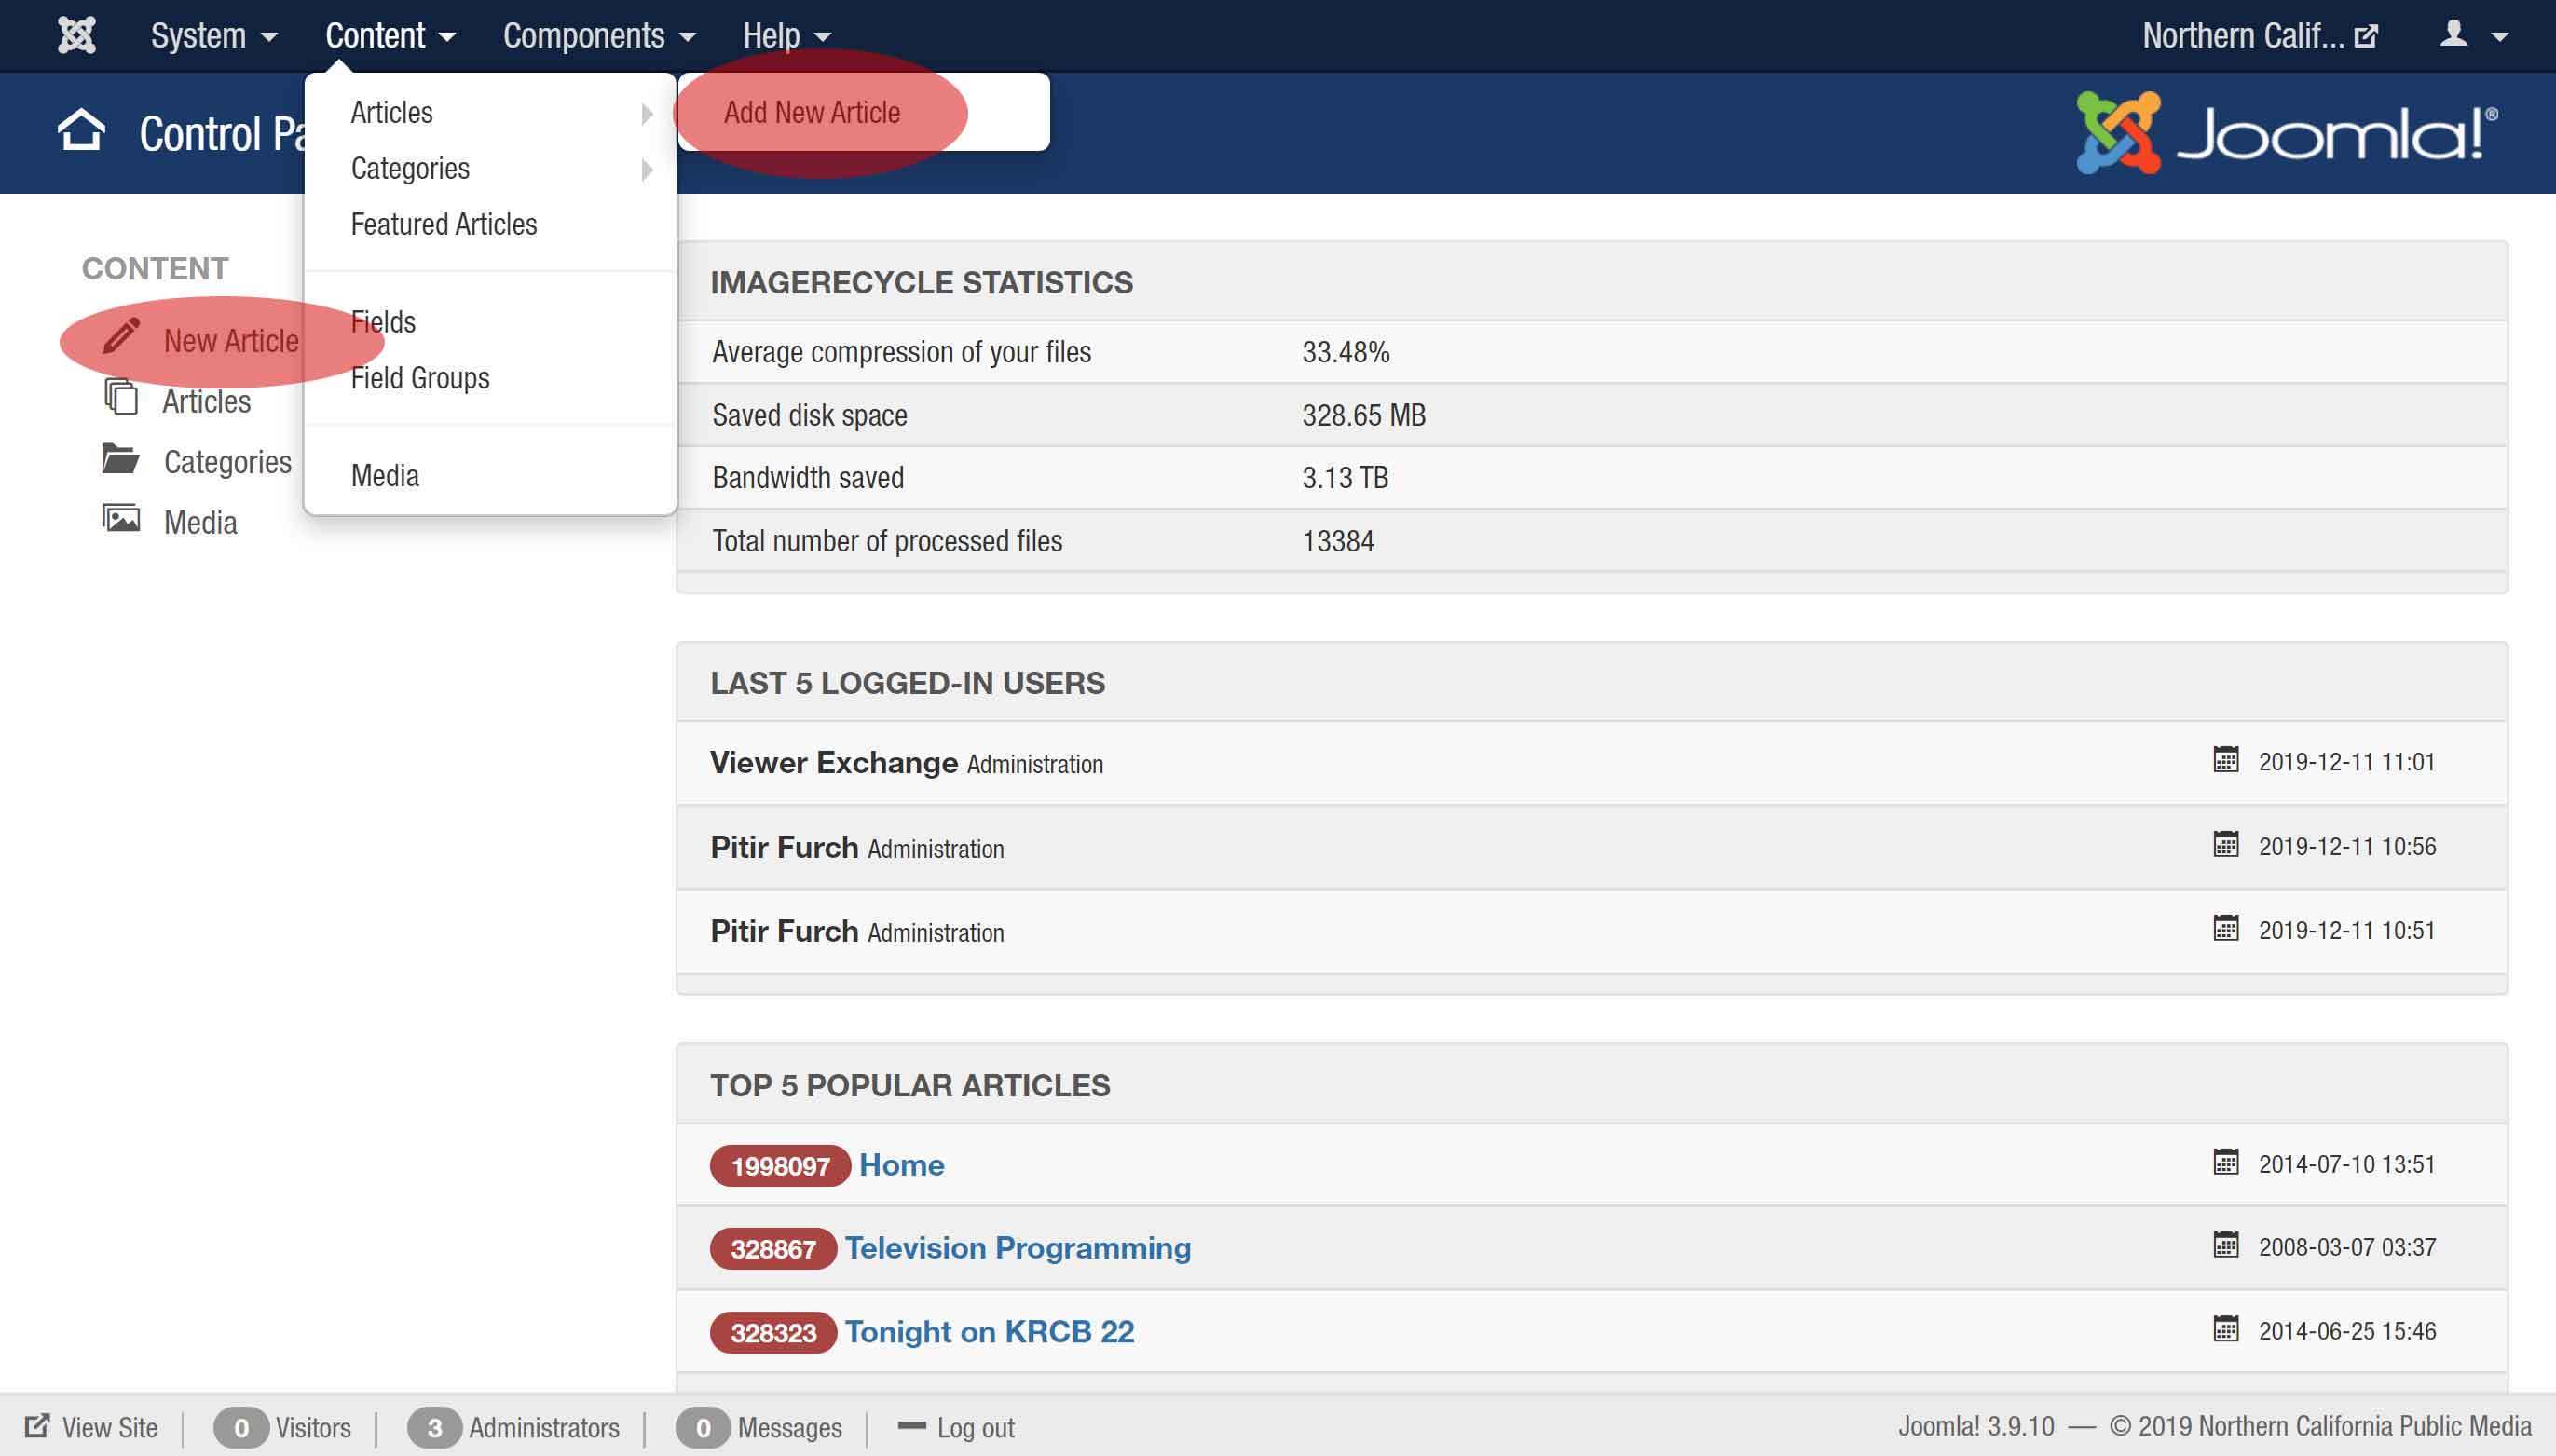
Create a new article by either clicking 'New Article' on the left or by selecting Content->Articles->New Article:
The editing window will create an alias based on the Title you use for your article. The alias is the URL of the page, so keep it simple. Avoid long Titles if possible, exlude dates and keep the Title concise.
You can click the 'Save' button as often as you like, it is the best way to ensure you do not lose your work.
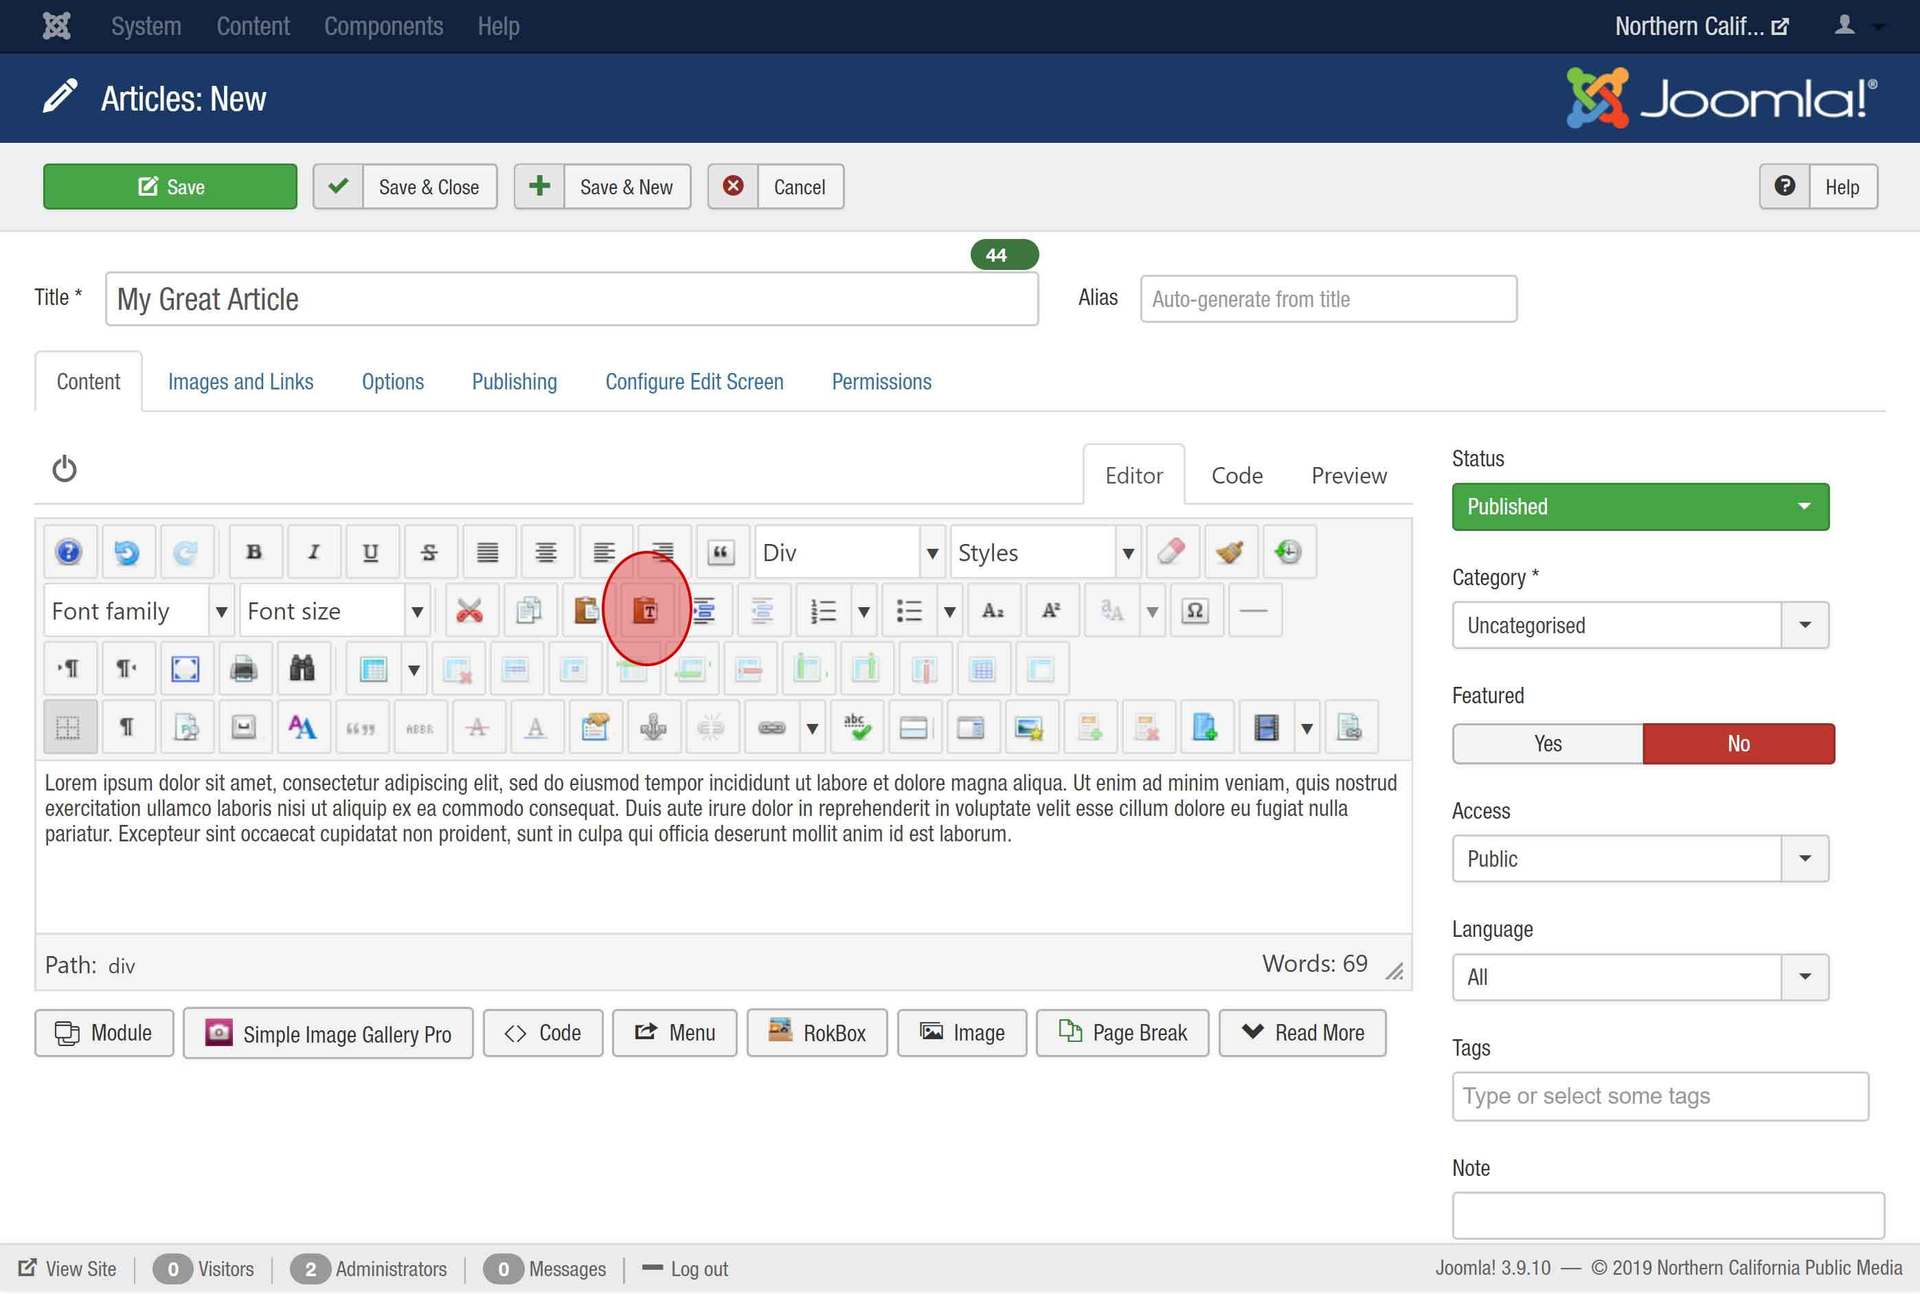
Add your text by typing into the editor.
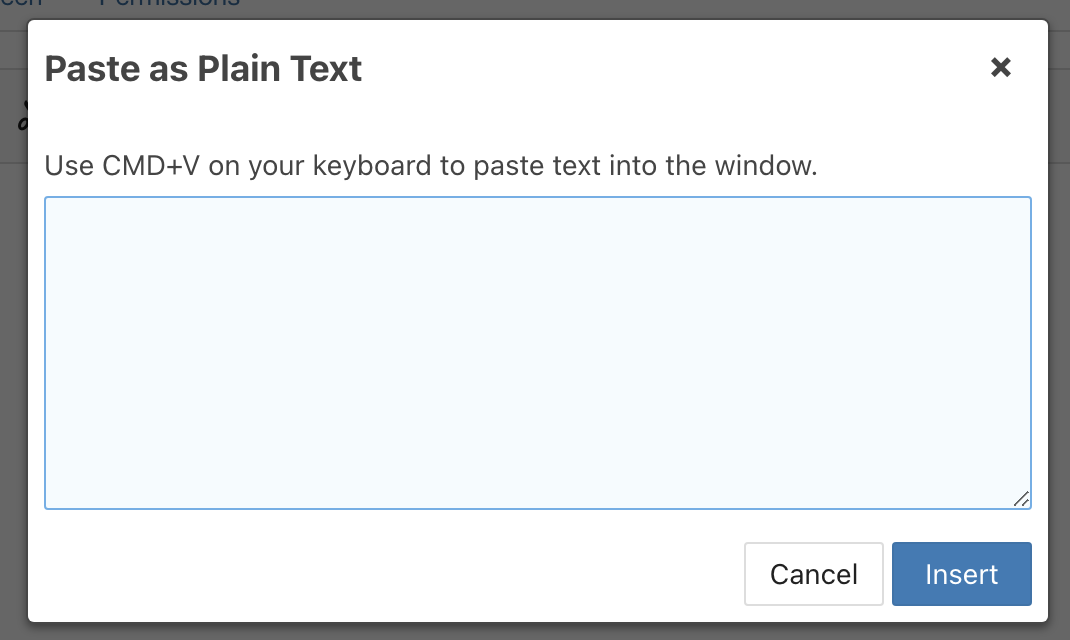
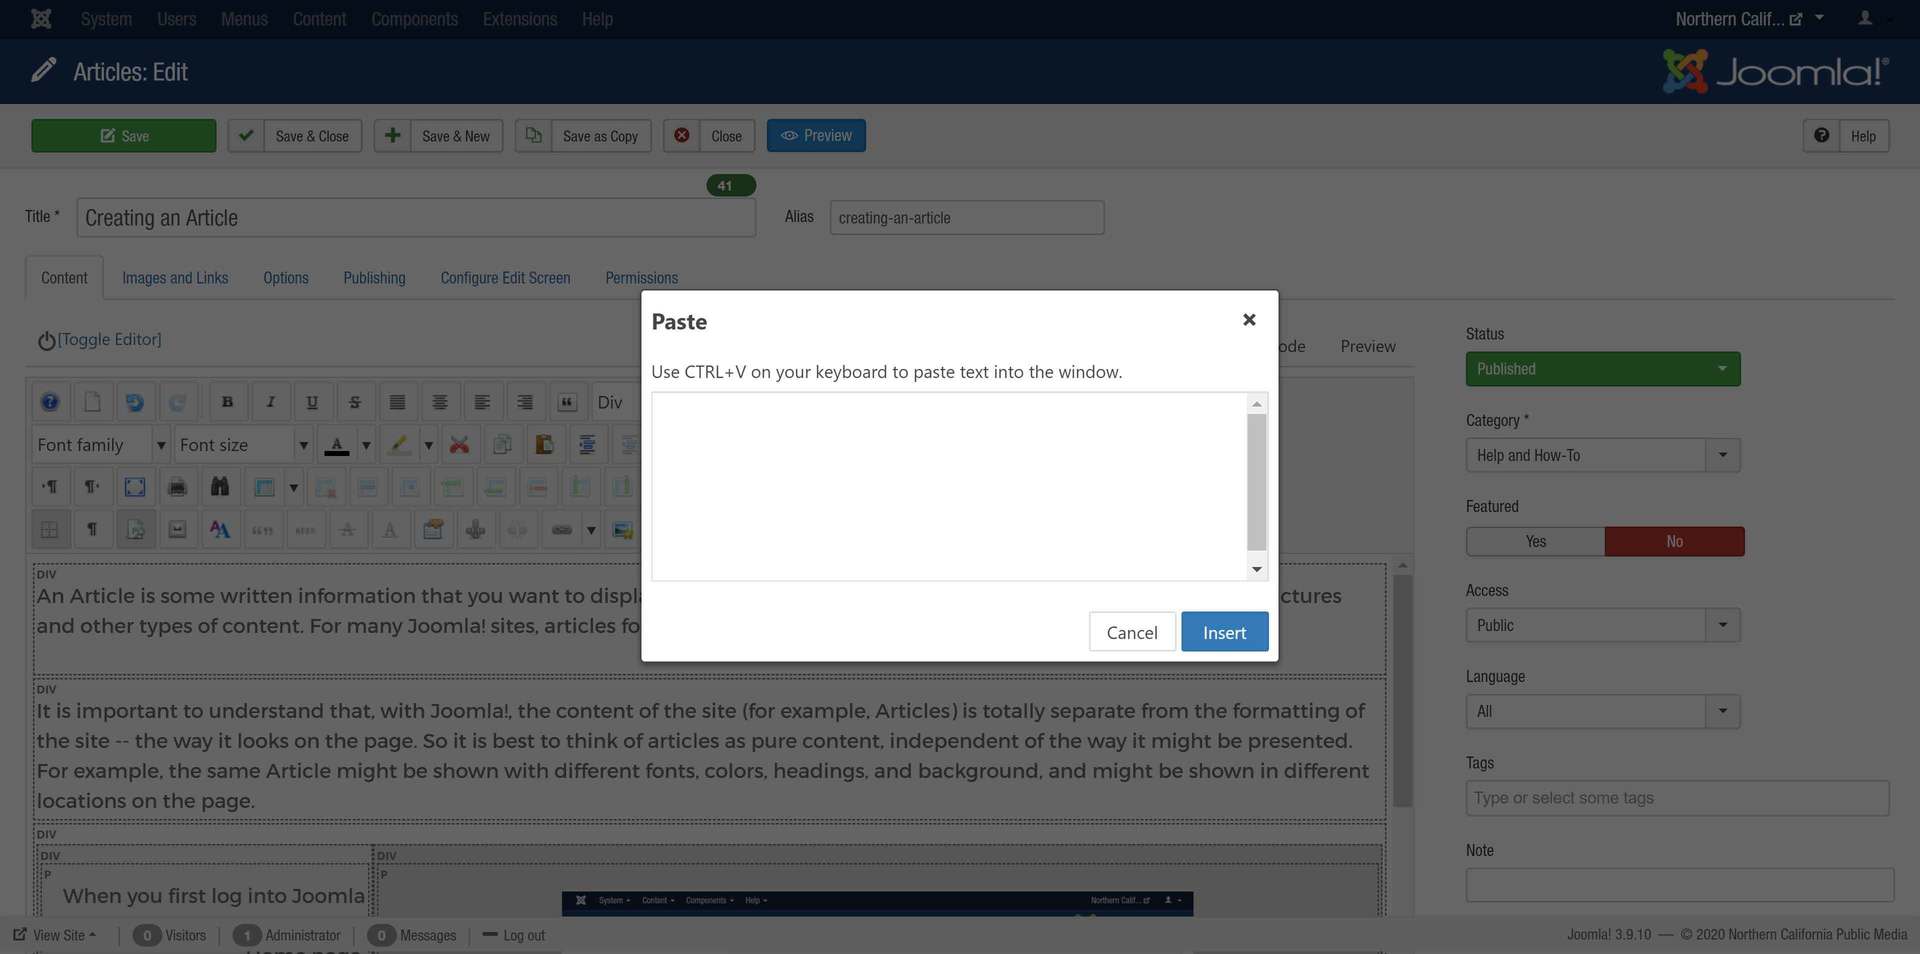
If you need to copy and paste from an existing document, use the Paste button.
Copy and paste into the window that opens.
Select a Category based on what part of the website the Article is relevant to. This will control where the Article appears, ask your manager if you are unsure what Category to use.
Remember to save early, save often!
To add a Tag to an article, click into the Tags area to the right of the Editor window:
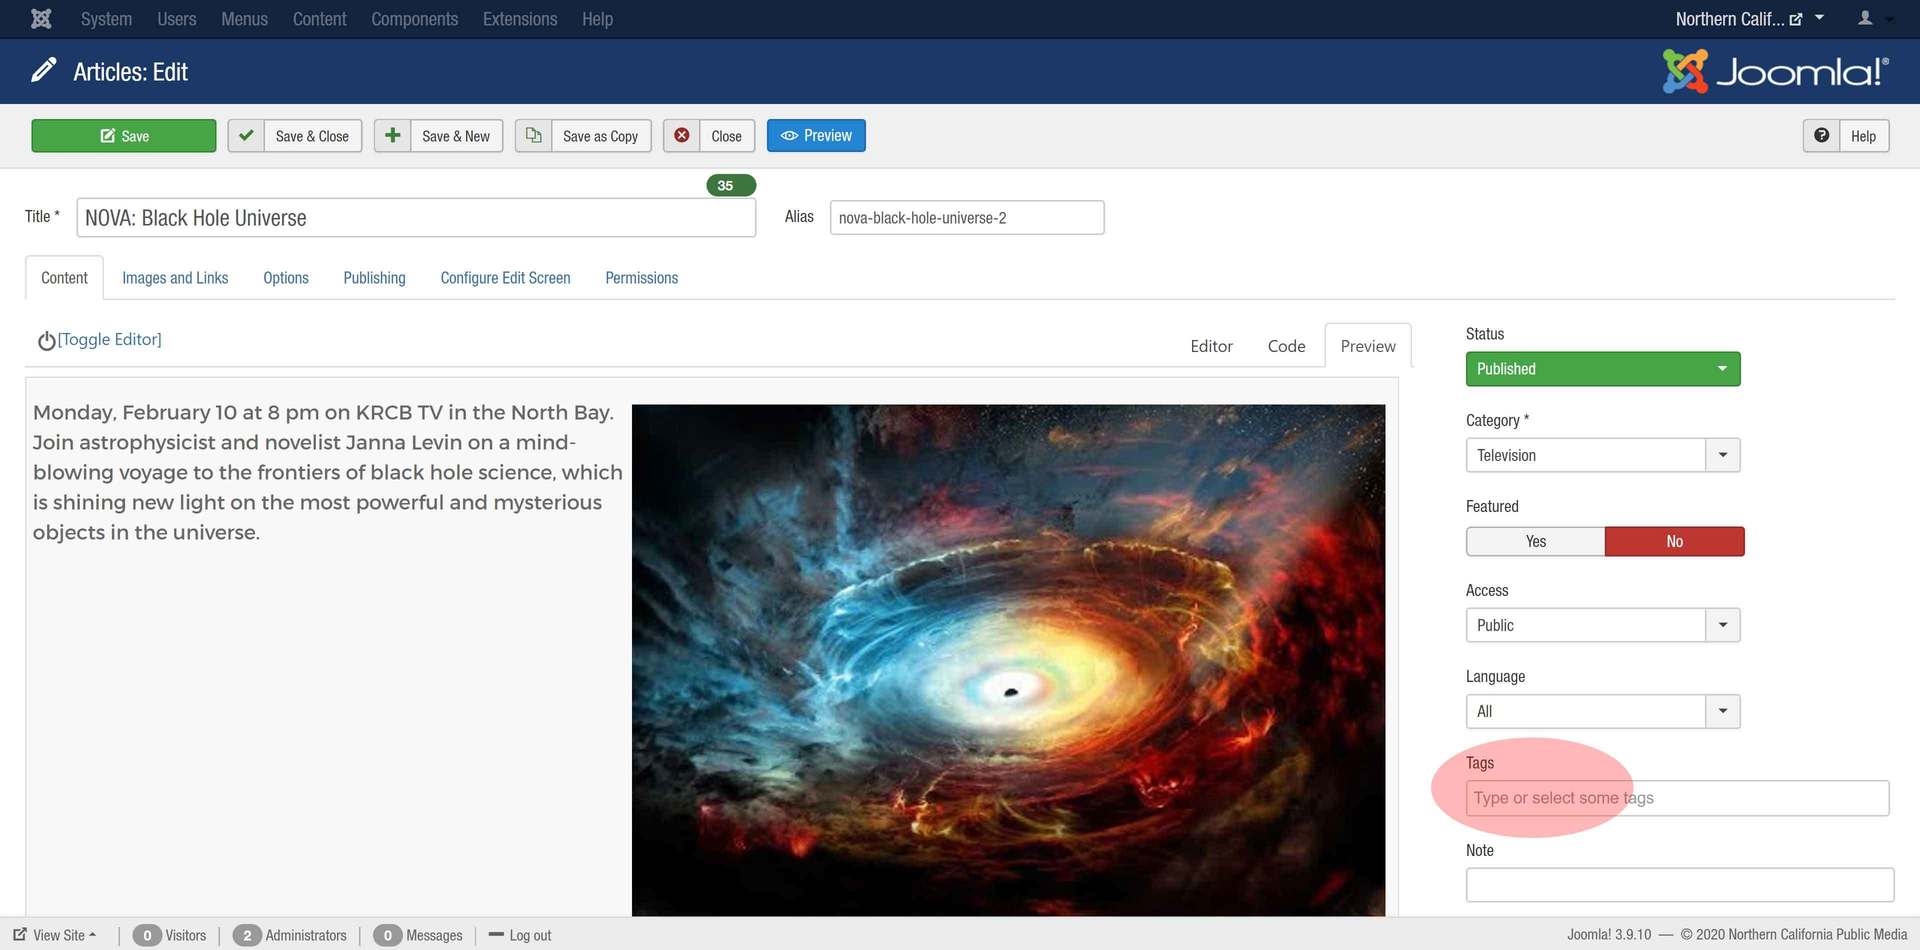
Begin typing and you will see Tags begin to autofill as you type, select your desired Tag by hitting Enter/Return or clicking with your mouse:
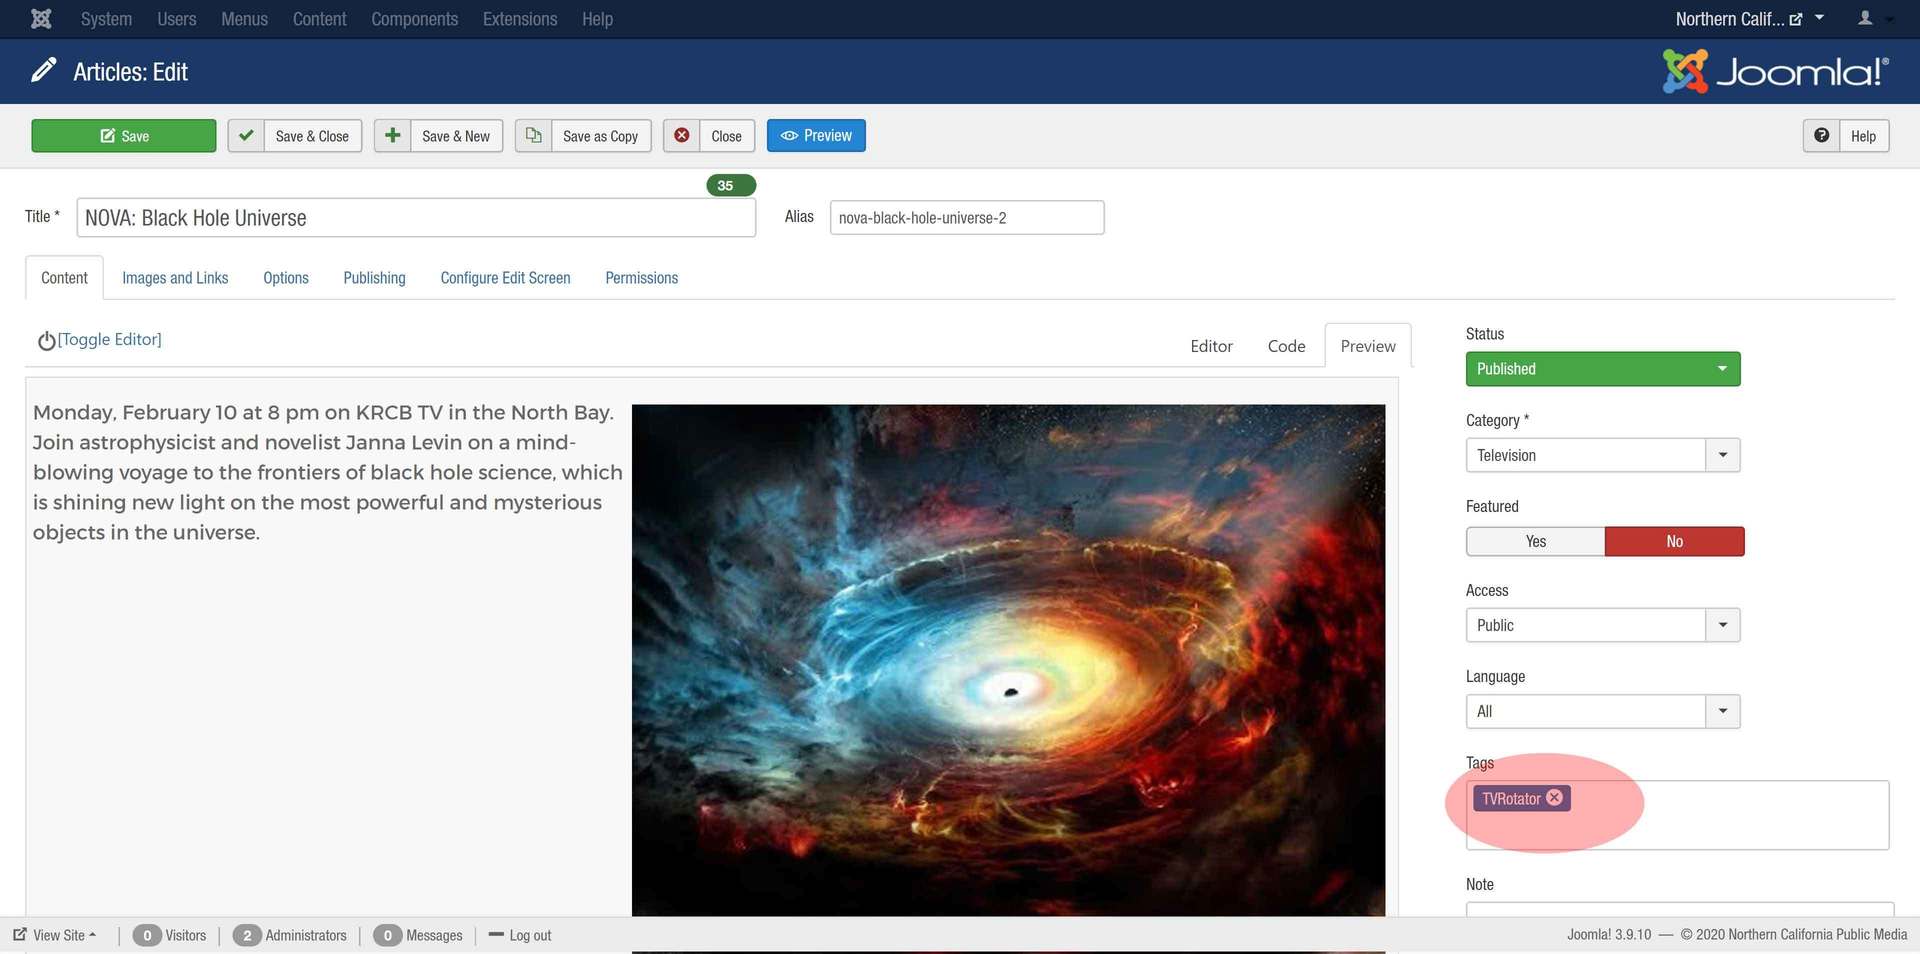
Be sure to save your article after adding a Tag.
